When it comes to rebuilding four-stroke engines, getting the small details right can often mean the difference between a long-lasting, powerful engine and an engine destined to have a short life. JE Pistons has decades of experience designing, engineering, and testing pistons for high-performance four-stroke engines. Though there are many technical details in a four-stroke’s performance, cam timing is one of the most critical points to get right after freshening up your top end. We’ll walk through all the important details that should be considered when timing the engine, and provide helpful tips to ensure that you get the job done right.

As the name implies, the root of all cam timing related engine build problems typically stems from one key relationship, which is the position of the crankshaft relative to the position of the camshaft(s). Deviations from the factory prescribed positions can result in lost engine performance, which is a minor issue compared to the possibility of catastrophic engine failures, which are a possibility, since improperly timed cams can result in valve to piston contact.
To tackle setting the cam timing correctly, the factory service manual must be utilized. The service manual is the only place you’ll find detailed information prescribing the correct procedure. Before starting the job, take some time to thoroughly review the steps outlined in your manual.
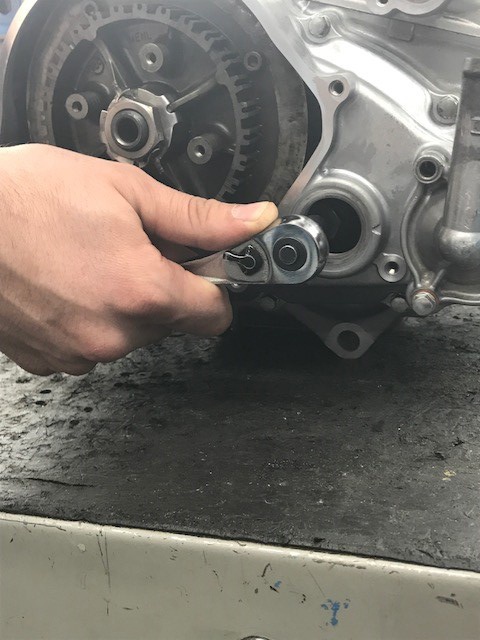
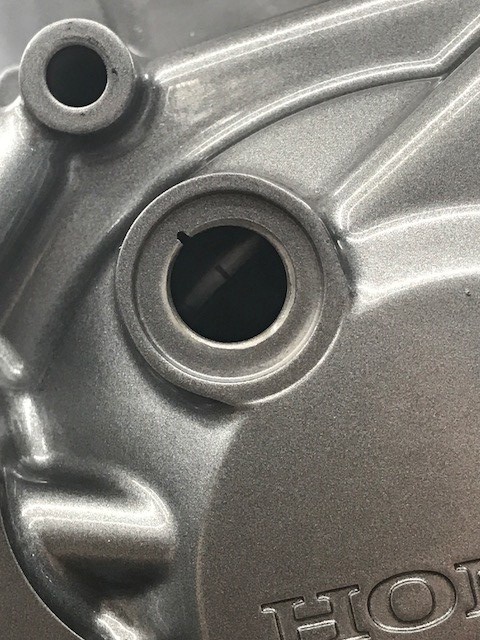
All cam timing procedures usually start with rotating the crankshaft to a prescribed position. The specific steps to do this will vary depending on the engine, however, the importance of getting this part right cannot be stressed enough. Often times, small markings will have to be aligned with features internal to the engine, or on one of its covers. Be sure to use ample light when aligning the crankshaft. Also, make sure that you’re looking squarely at the alignment feature. Viewing the alignment features at an angle can lead to an inaccurate positioning of the crankshaft.
Looking for a new piston for your dirt bike or ATV? Check out our Pro Series pistons.
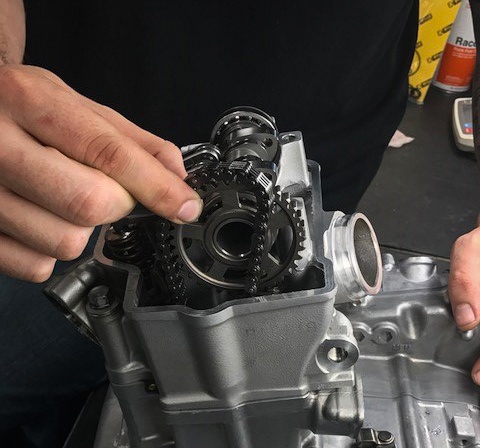
With the crankshaft positioned, the next step on engines utilizing cam chains is to wrap the chain around the cam, or cams, while simultaneously ensuring the cams are in the correct position. While doing this, the crankshaft must also stay in its original position! Engines with gear driven cams are typically a little easier to work with because ensuring the gears are correctly aligned is the only concern.

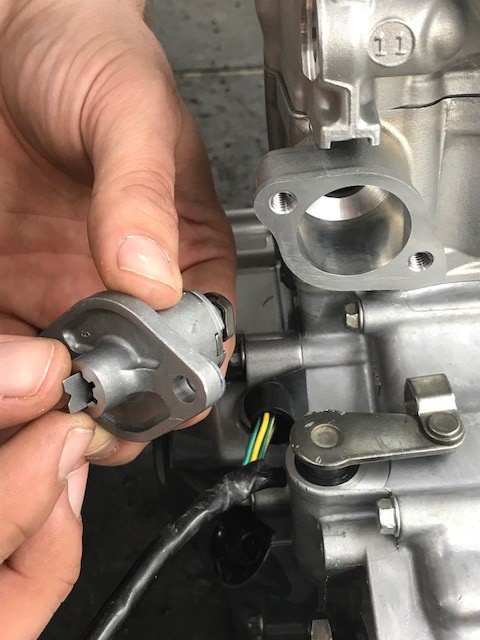
The cam gears will feature some type of alignment mark, such as a scribed line or dimpled dot. Depending on the engine, these features will need to be aligned with a mating feature on the engine. For example, it is not uncommon to align the cam gear mating feature with the cylinder head cover plane.
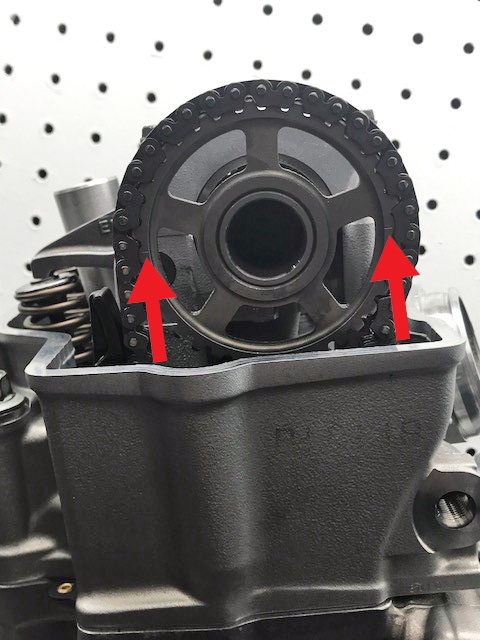
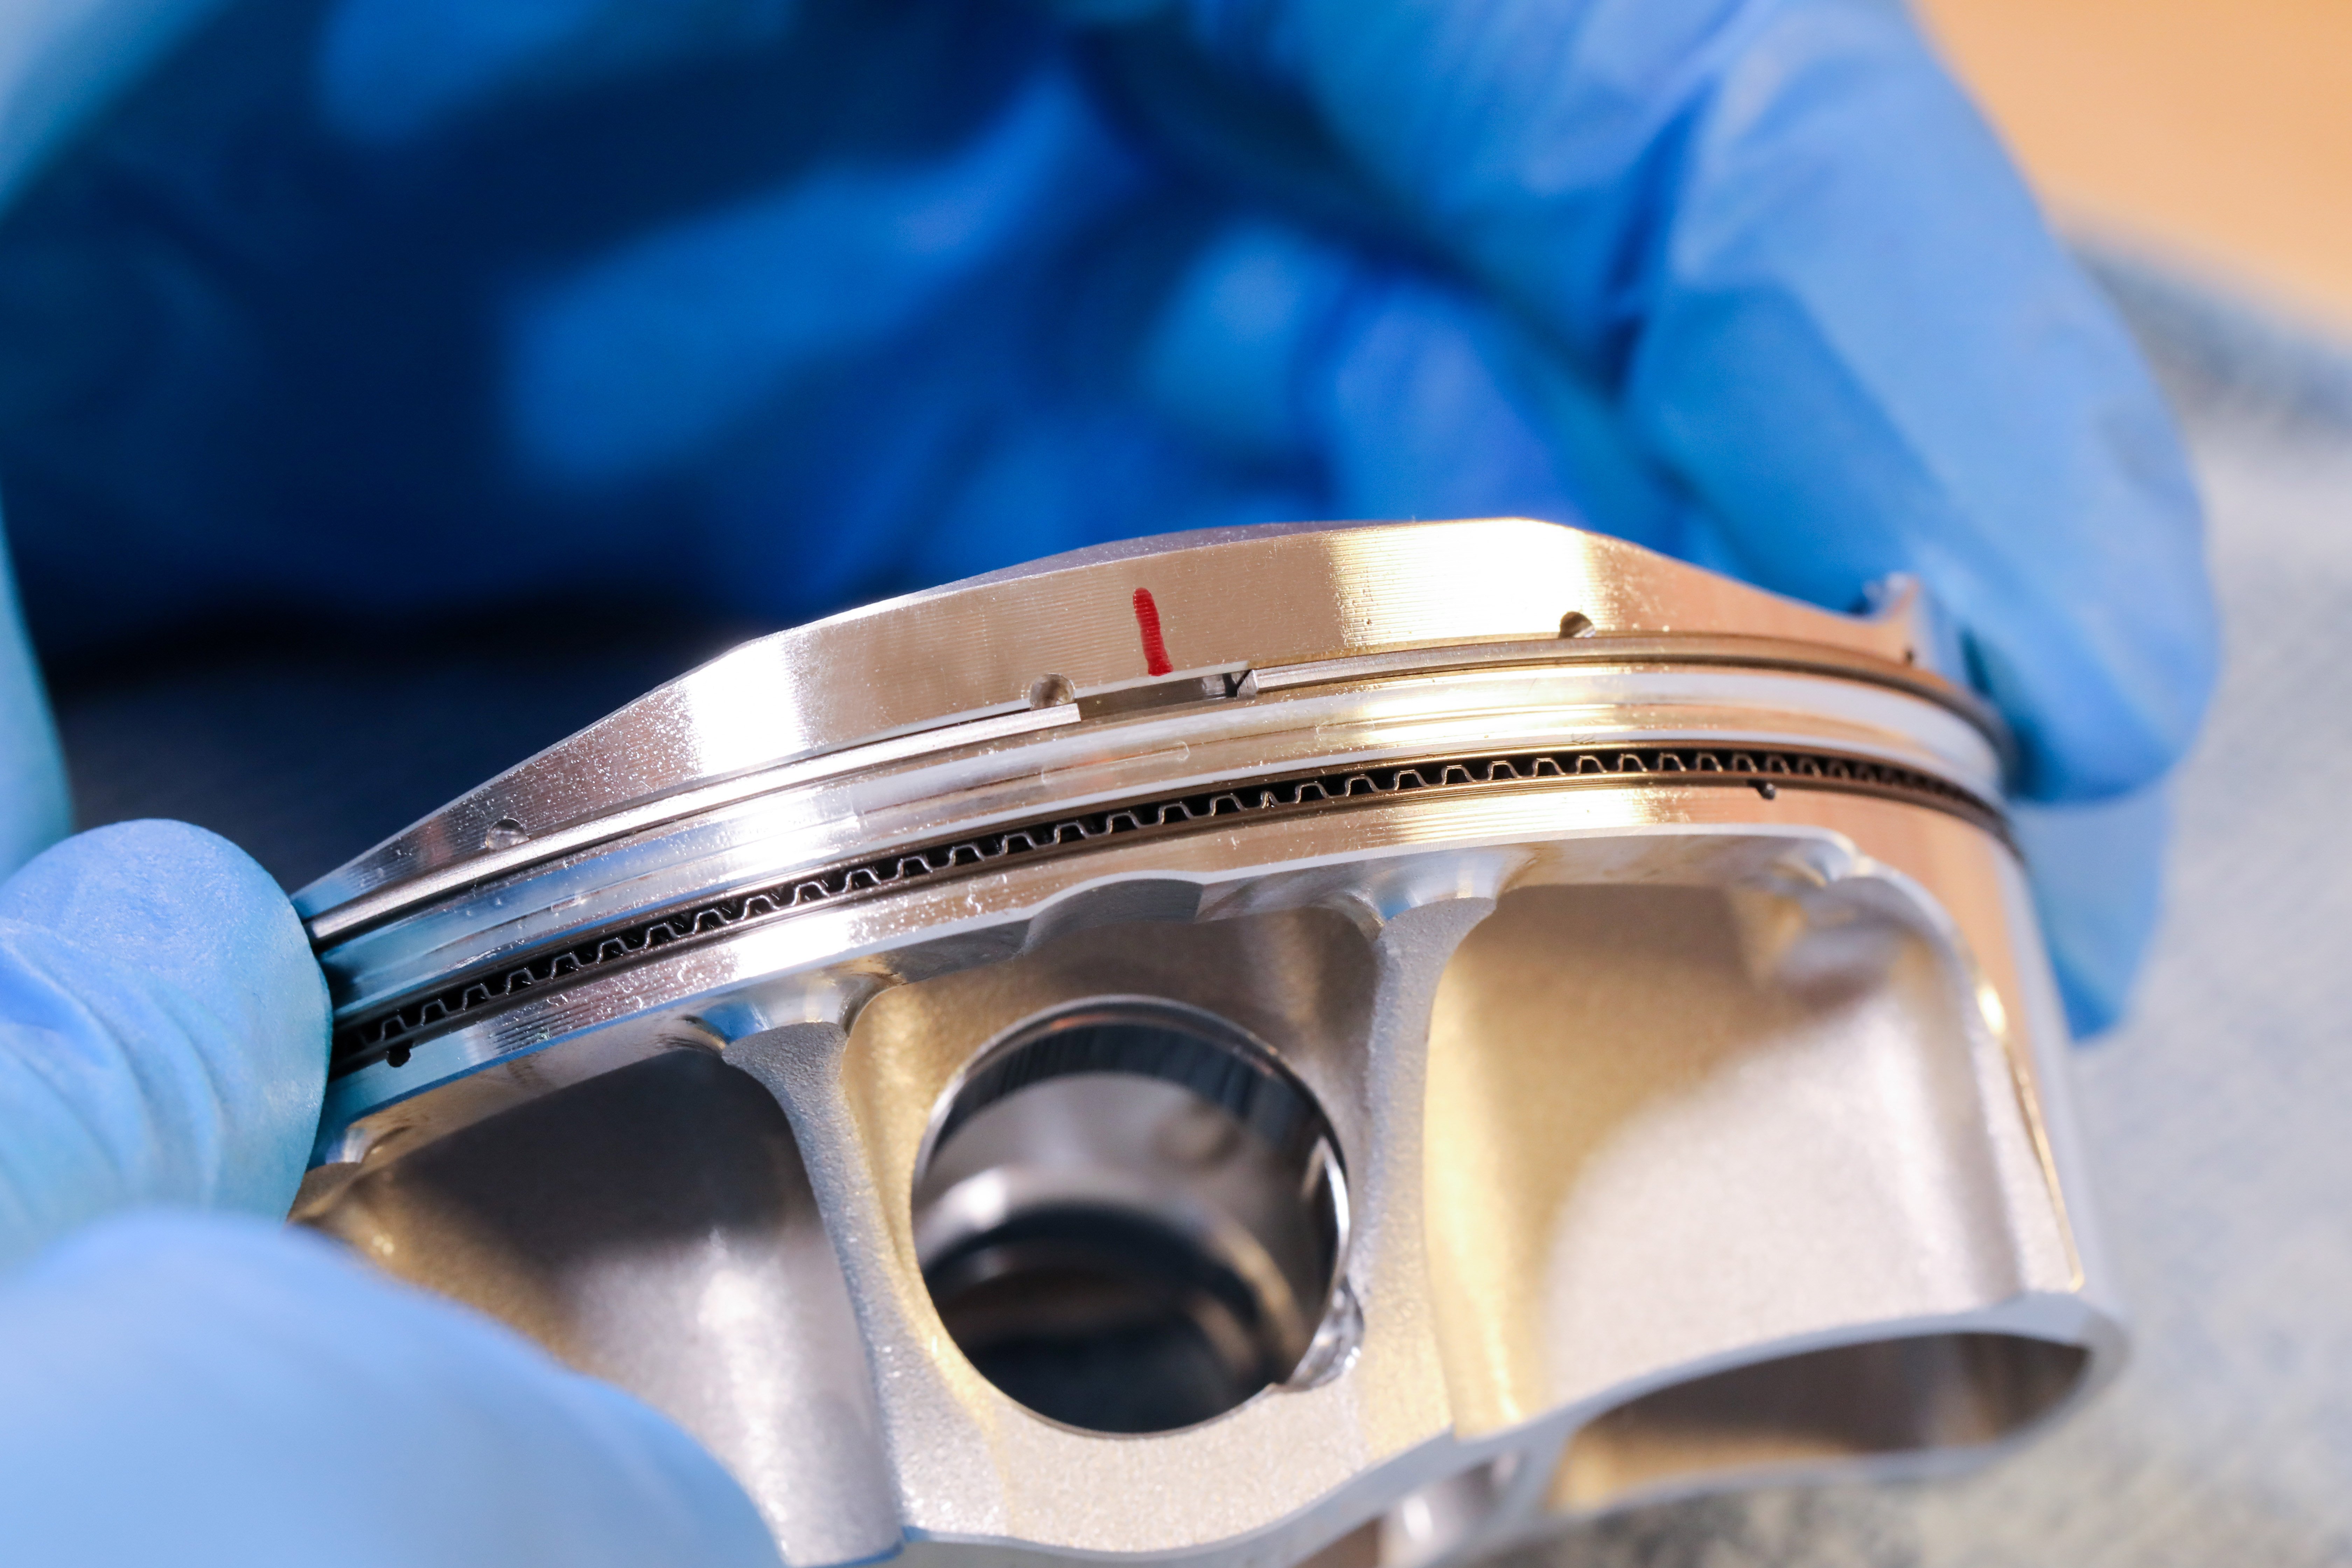
On engines utilizing a cam chain, the way in which the chain is wrapped around the cam gear(s) is important. Ensuring there is no slack in the chain when it is wrapped around the cam gear is critical. We want all the chain slack to be on the side of the engine where the chain tensioner resides. That being said, on engines utilizing two cams, it is best to install the cam furthest from the chain tensioner first. Pull the chain taught from the crankshaft, then carefully slip the cam gear into position, ensuring both the crank position and cam gear position are aligned with their respective mating features. On dual cam engines, once the first cam has been installed, the chain can be pulled taught from the first cam, and the second cam and gear can be slipped into position and oriented correctly.
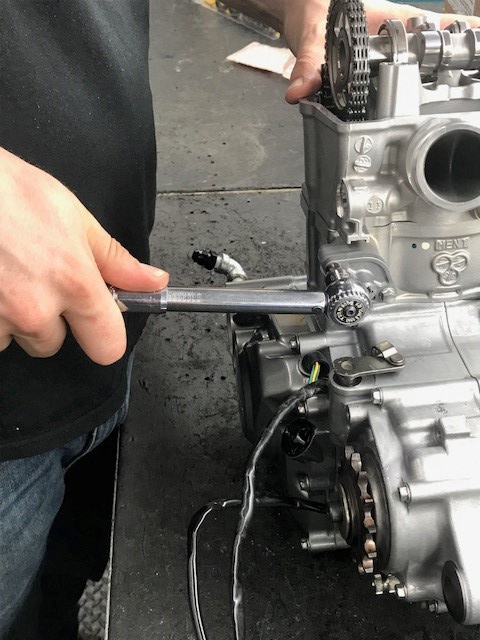
At this point, the position of the cam(s) and crank should be double checked. On engines utilizing cam chains and two cams, some service manuals will specify a chain link or chain pin count between the indexing feature of the intake and exhaust cam, in addition to the alignment features on the cam gears themselves. On gear driven engines, this will simply be a matter of checking the alignment features of all the gears in the system.
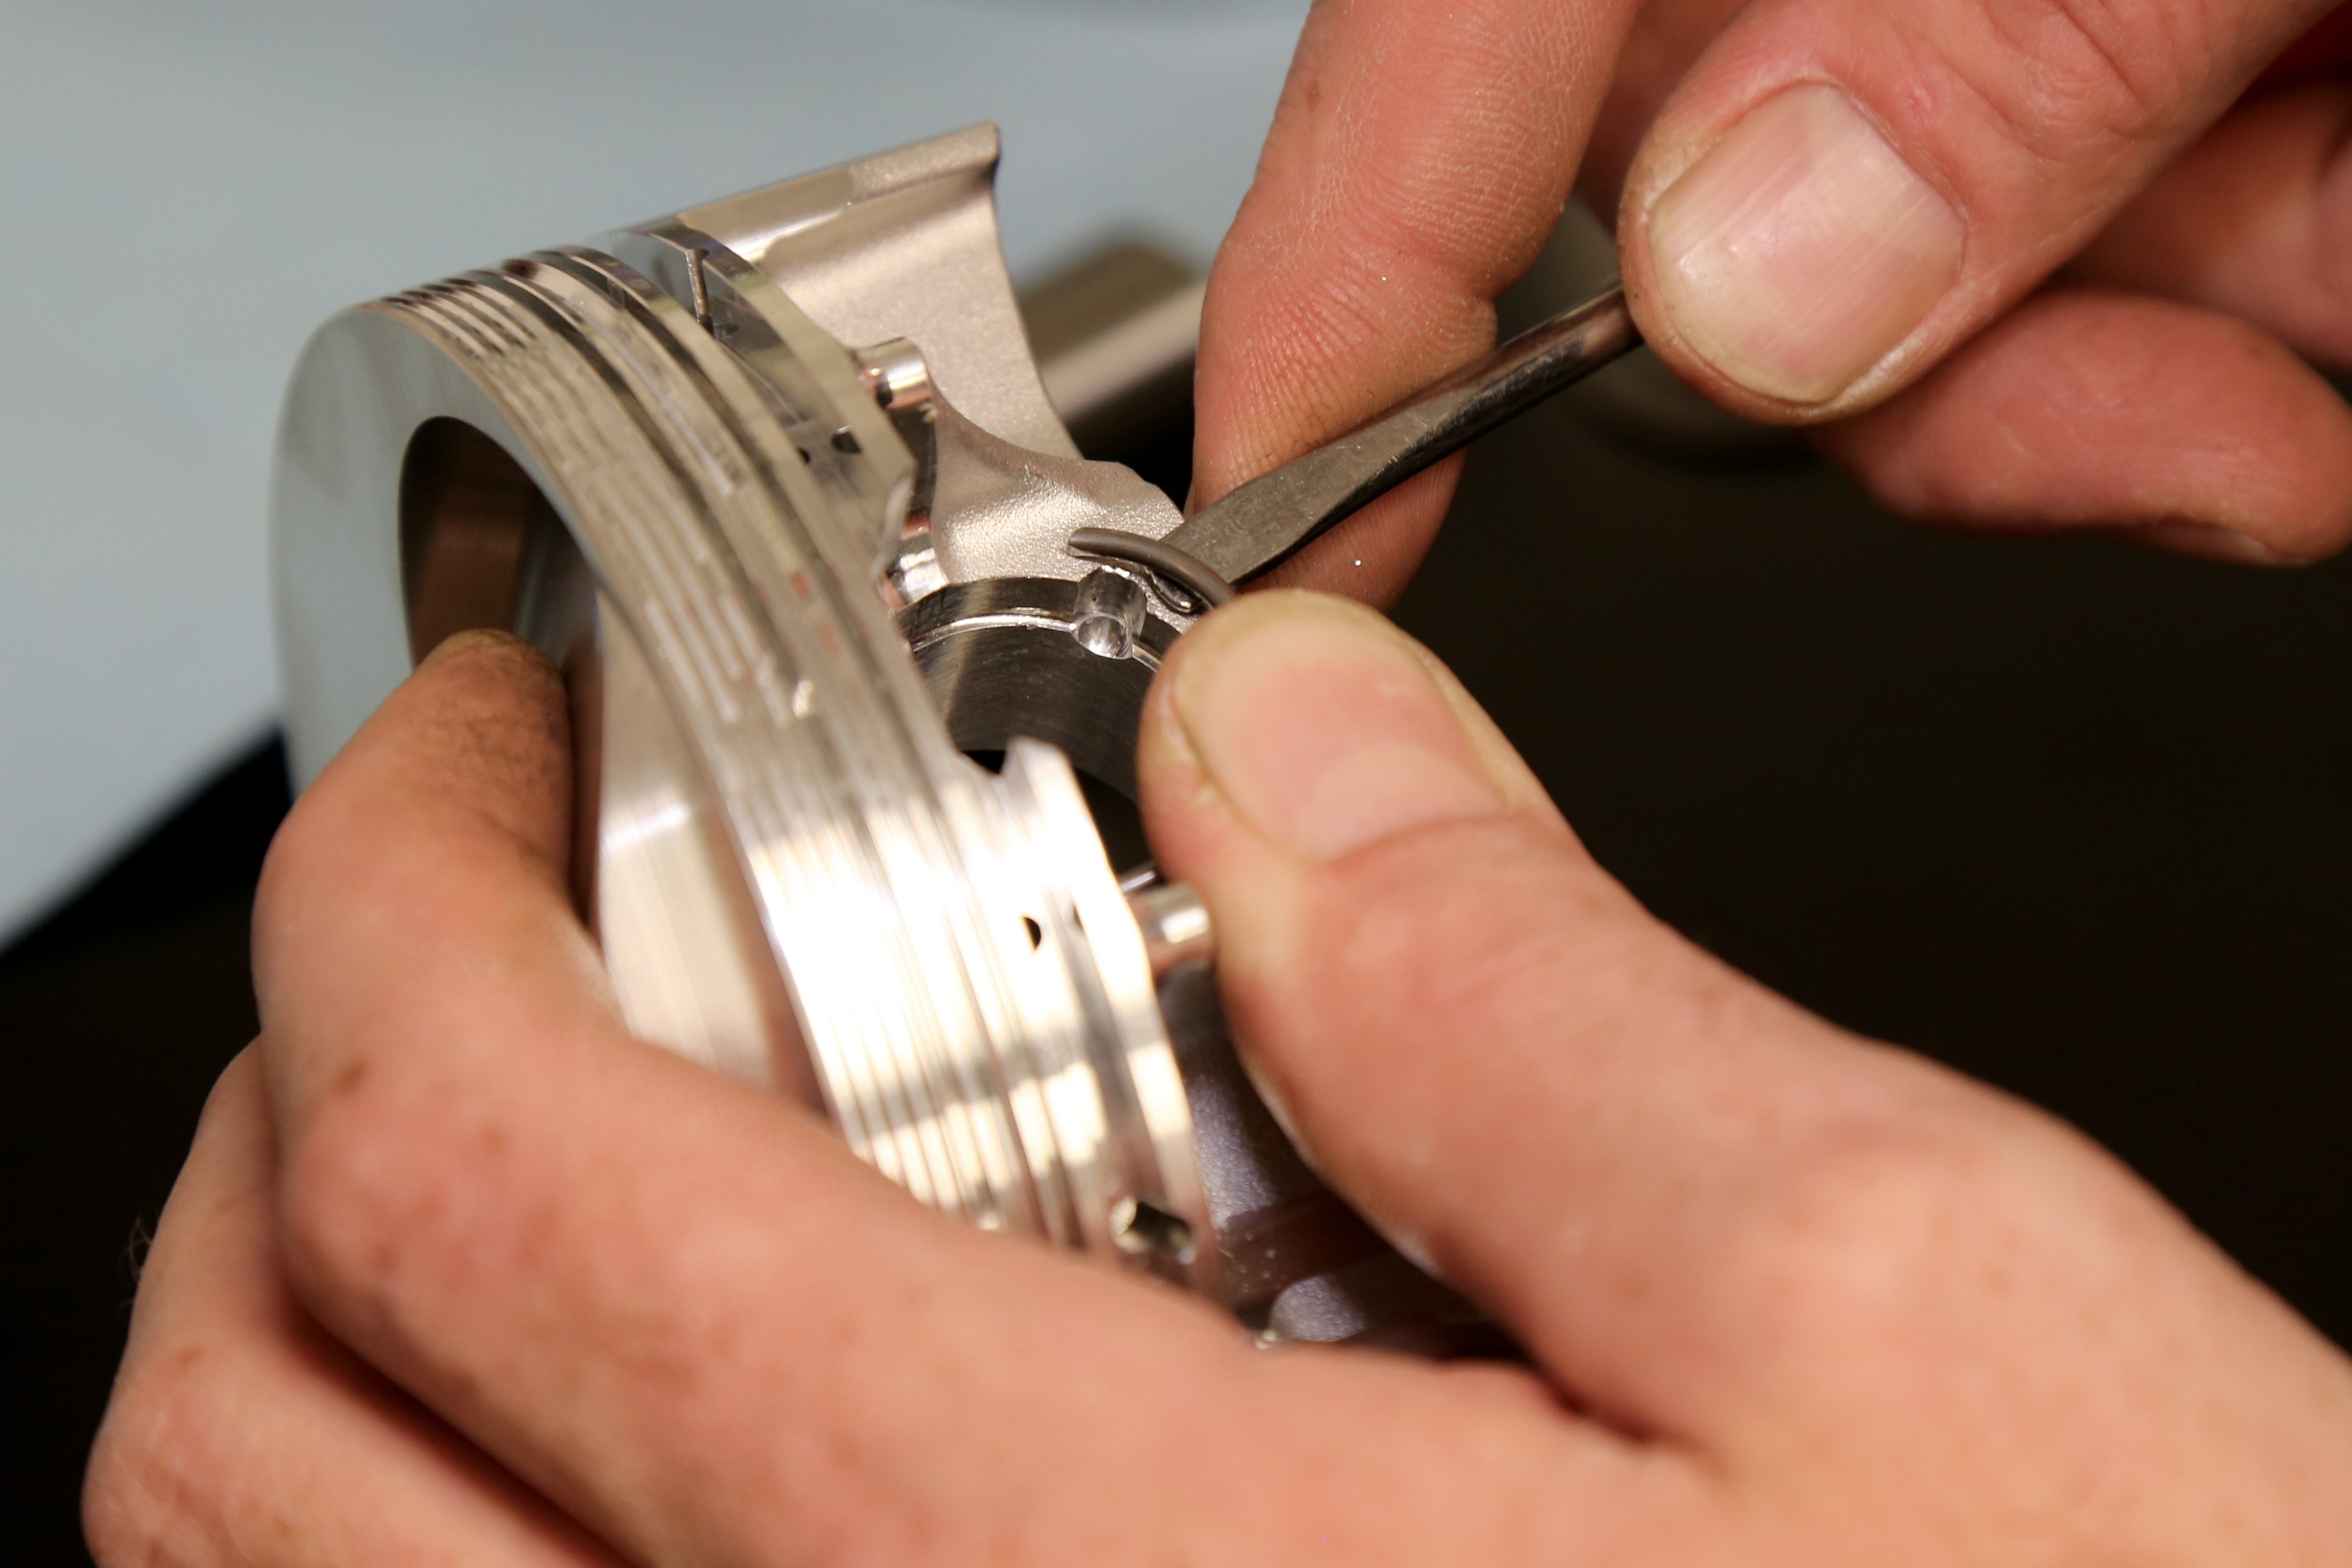
Once the cams have been correctly positioned, the cam cap can be reinstalled, and the valve clearances can be checked. After any valve clearance adjustments have been carried out, the final step on engines utilizing a cam chain is to set the chain tension.
A couple different types of chain tensioners are commonly used, however, regardless of type, installing the chain tensioner in its retracted position is incredibly important. Consult your service manual for specific instructions on retracting the chain tensioner. Proceed to install the chain tensioner on the engine. Once installed, follow any necessary steps required to extend the chain tensioner and tension the chain.
With the chain tensioner extended, the cam chain will have some tension on it, however, it may not be in its optimal position. Proceed to rotate the engine through four crankshaft revolutions. Rotating the engine over will allow the chain tensioner to further tension the chain. It will also serve as an opportunity to confirm that everything has been set so that at a minimum, there are no mechanical interferences. If you’re unable to rotate the engine through all four of its strokes, there is a strong possibility that the timing has been set incorrectly and that the valves are interfering with the piston.
Assuming the initial spin over of the engine went without issue, confirm one final time that all key relationships have been maintained. Reposition the crankshaft in accordance with its alignment feature. Double check that the cam(s) are aligned with their respective features. Once this has been done, the hard part of the job is complete, and we can walk away with confidence that the cam timing has been set correctly.