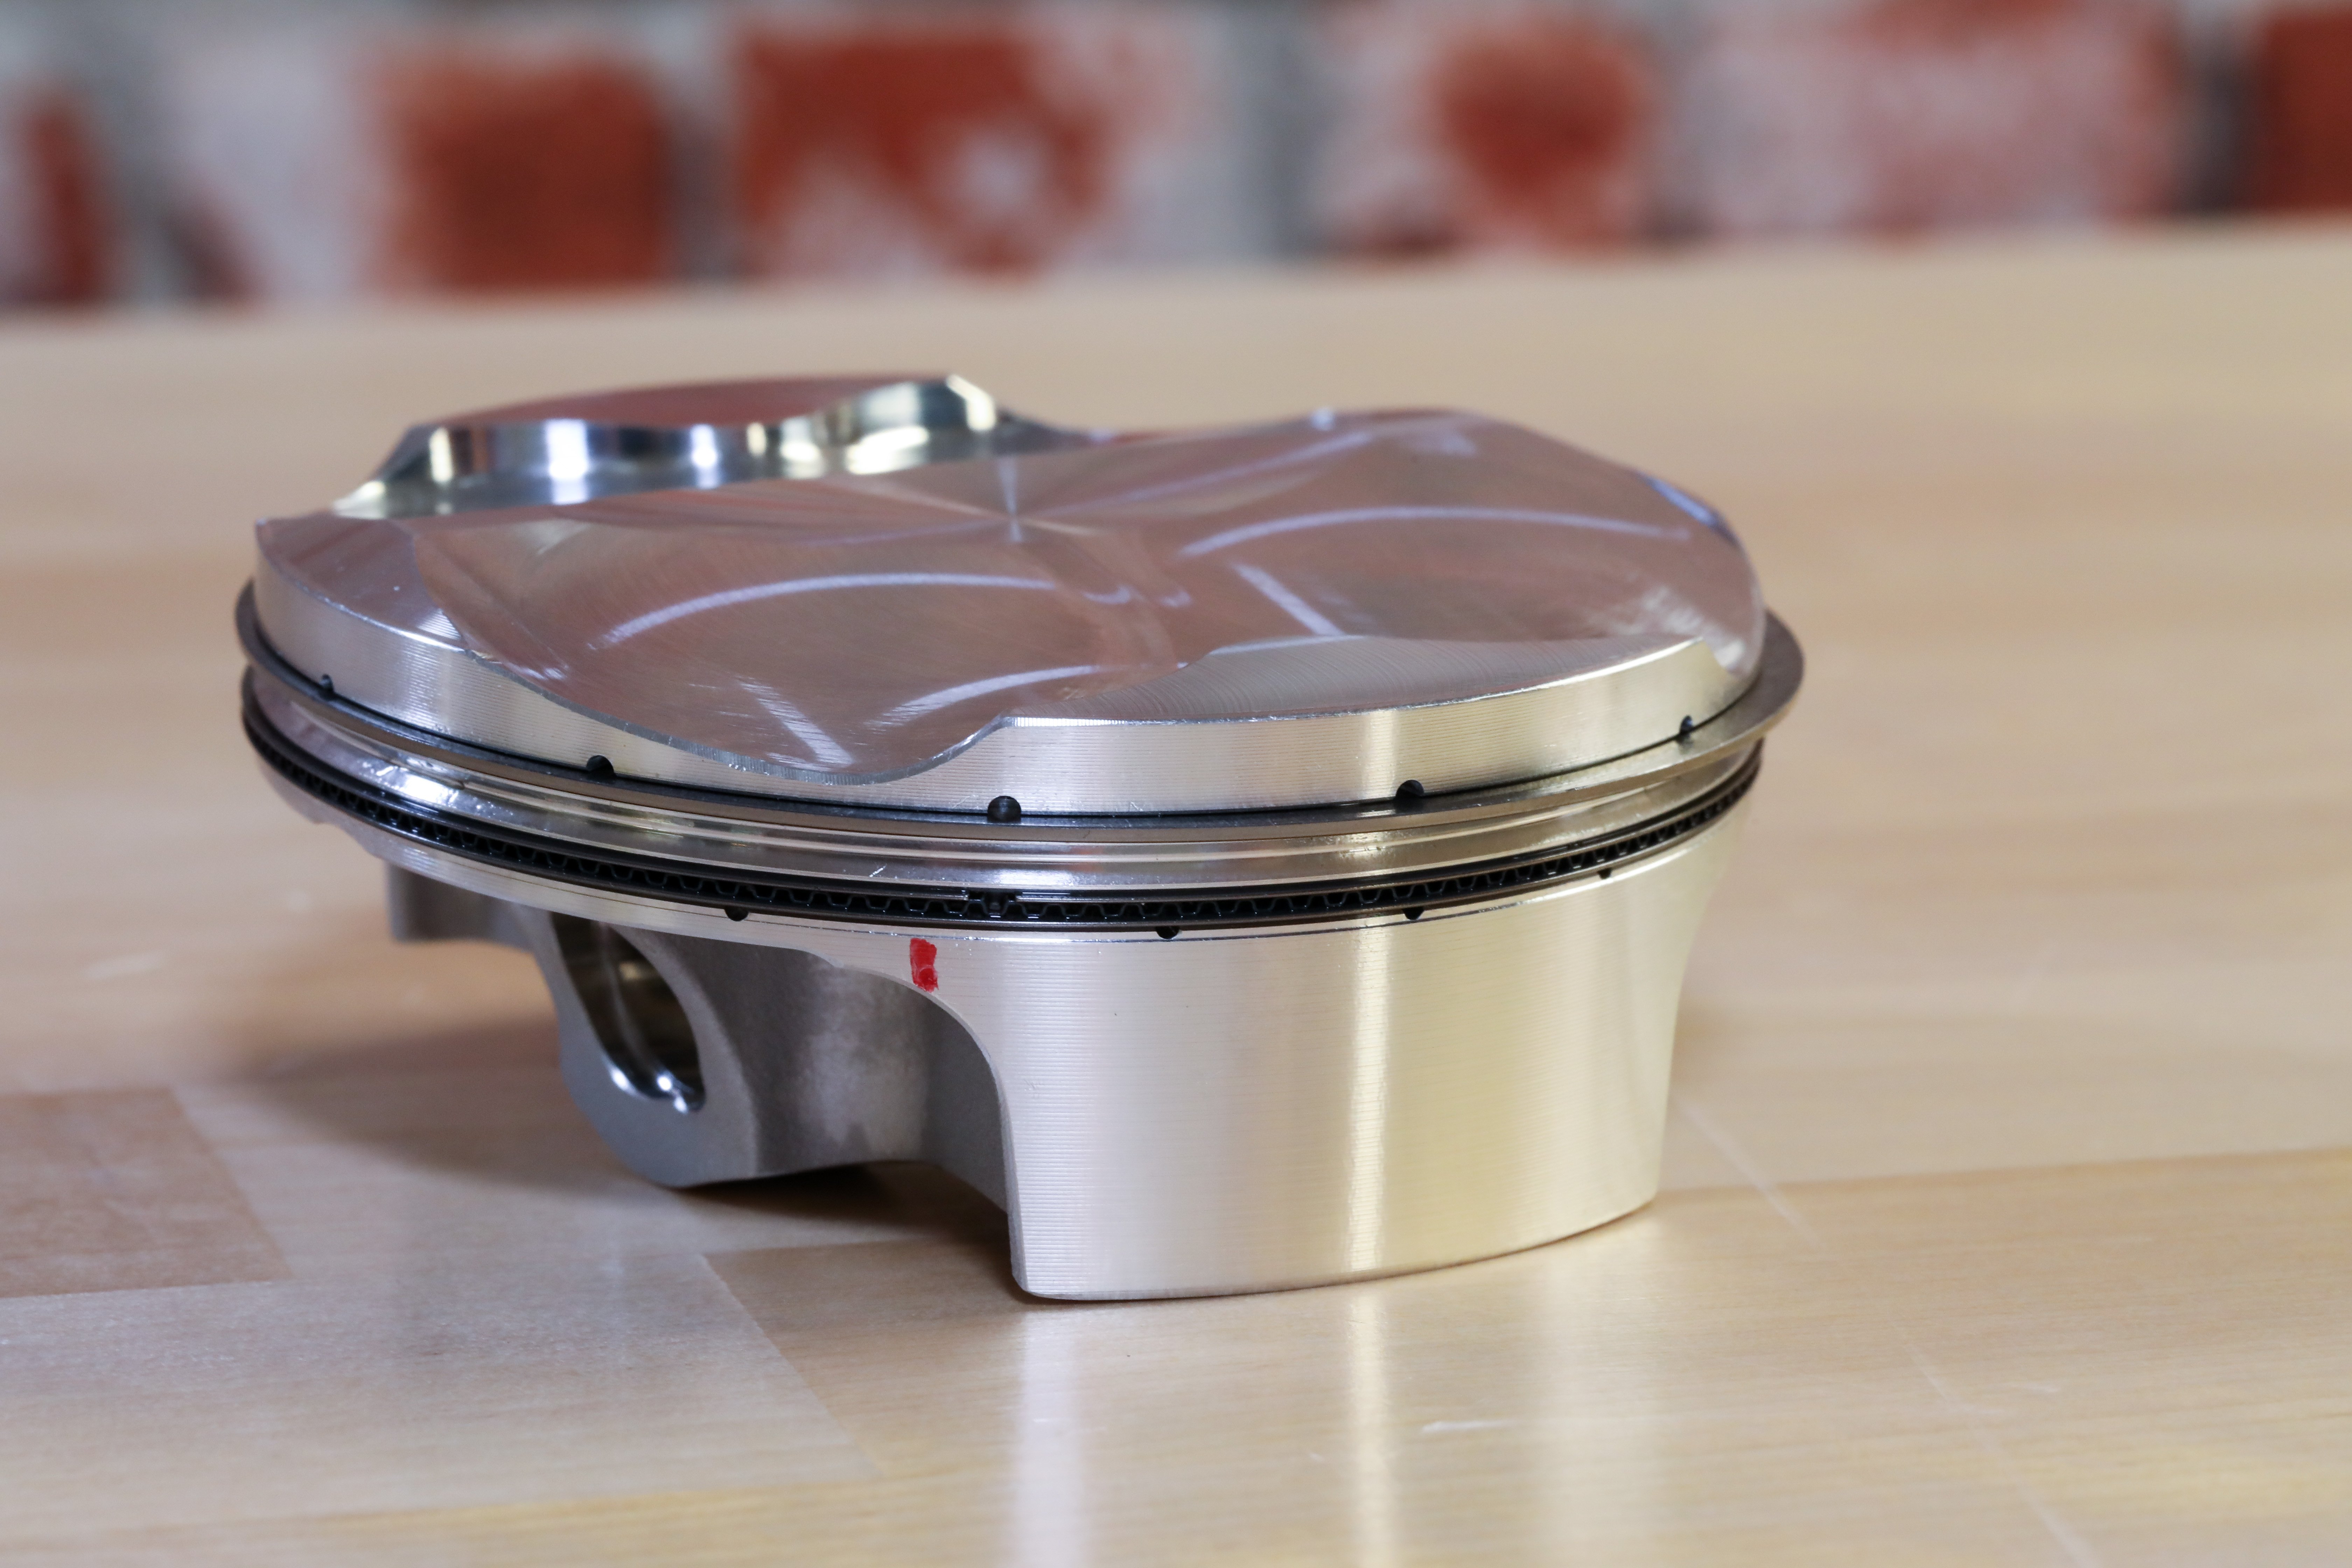
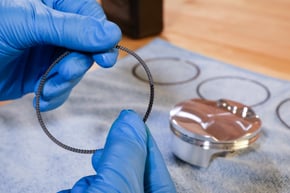
With years of performance piston experience, JE knows ring operation is just as important as piston quality. Follow along with our complete, step-by-step guide to installing rings on your motorcycle or ATV piston(s).
The correct installation of the piston rings is an essential aspect of rebuilding any four-stroke engine. This task is perceived by many to be simple. However, there are vital aspects of ring installation that should not be overlooked. Improper installation of the piston rings can result in limited engine life, reduced power, and high oil consumption. In this article, we’ll walk step-by-step through the ring installation process so that the next time you’re rebuilding your engine, you know exactly what to do and what to watch out for.
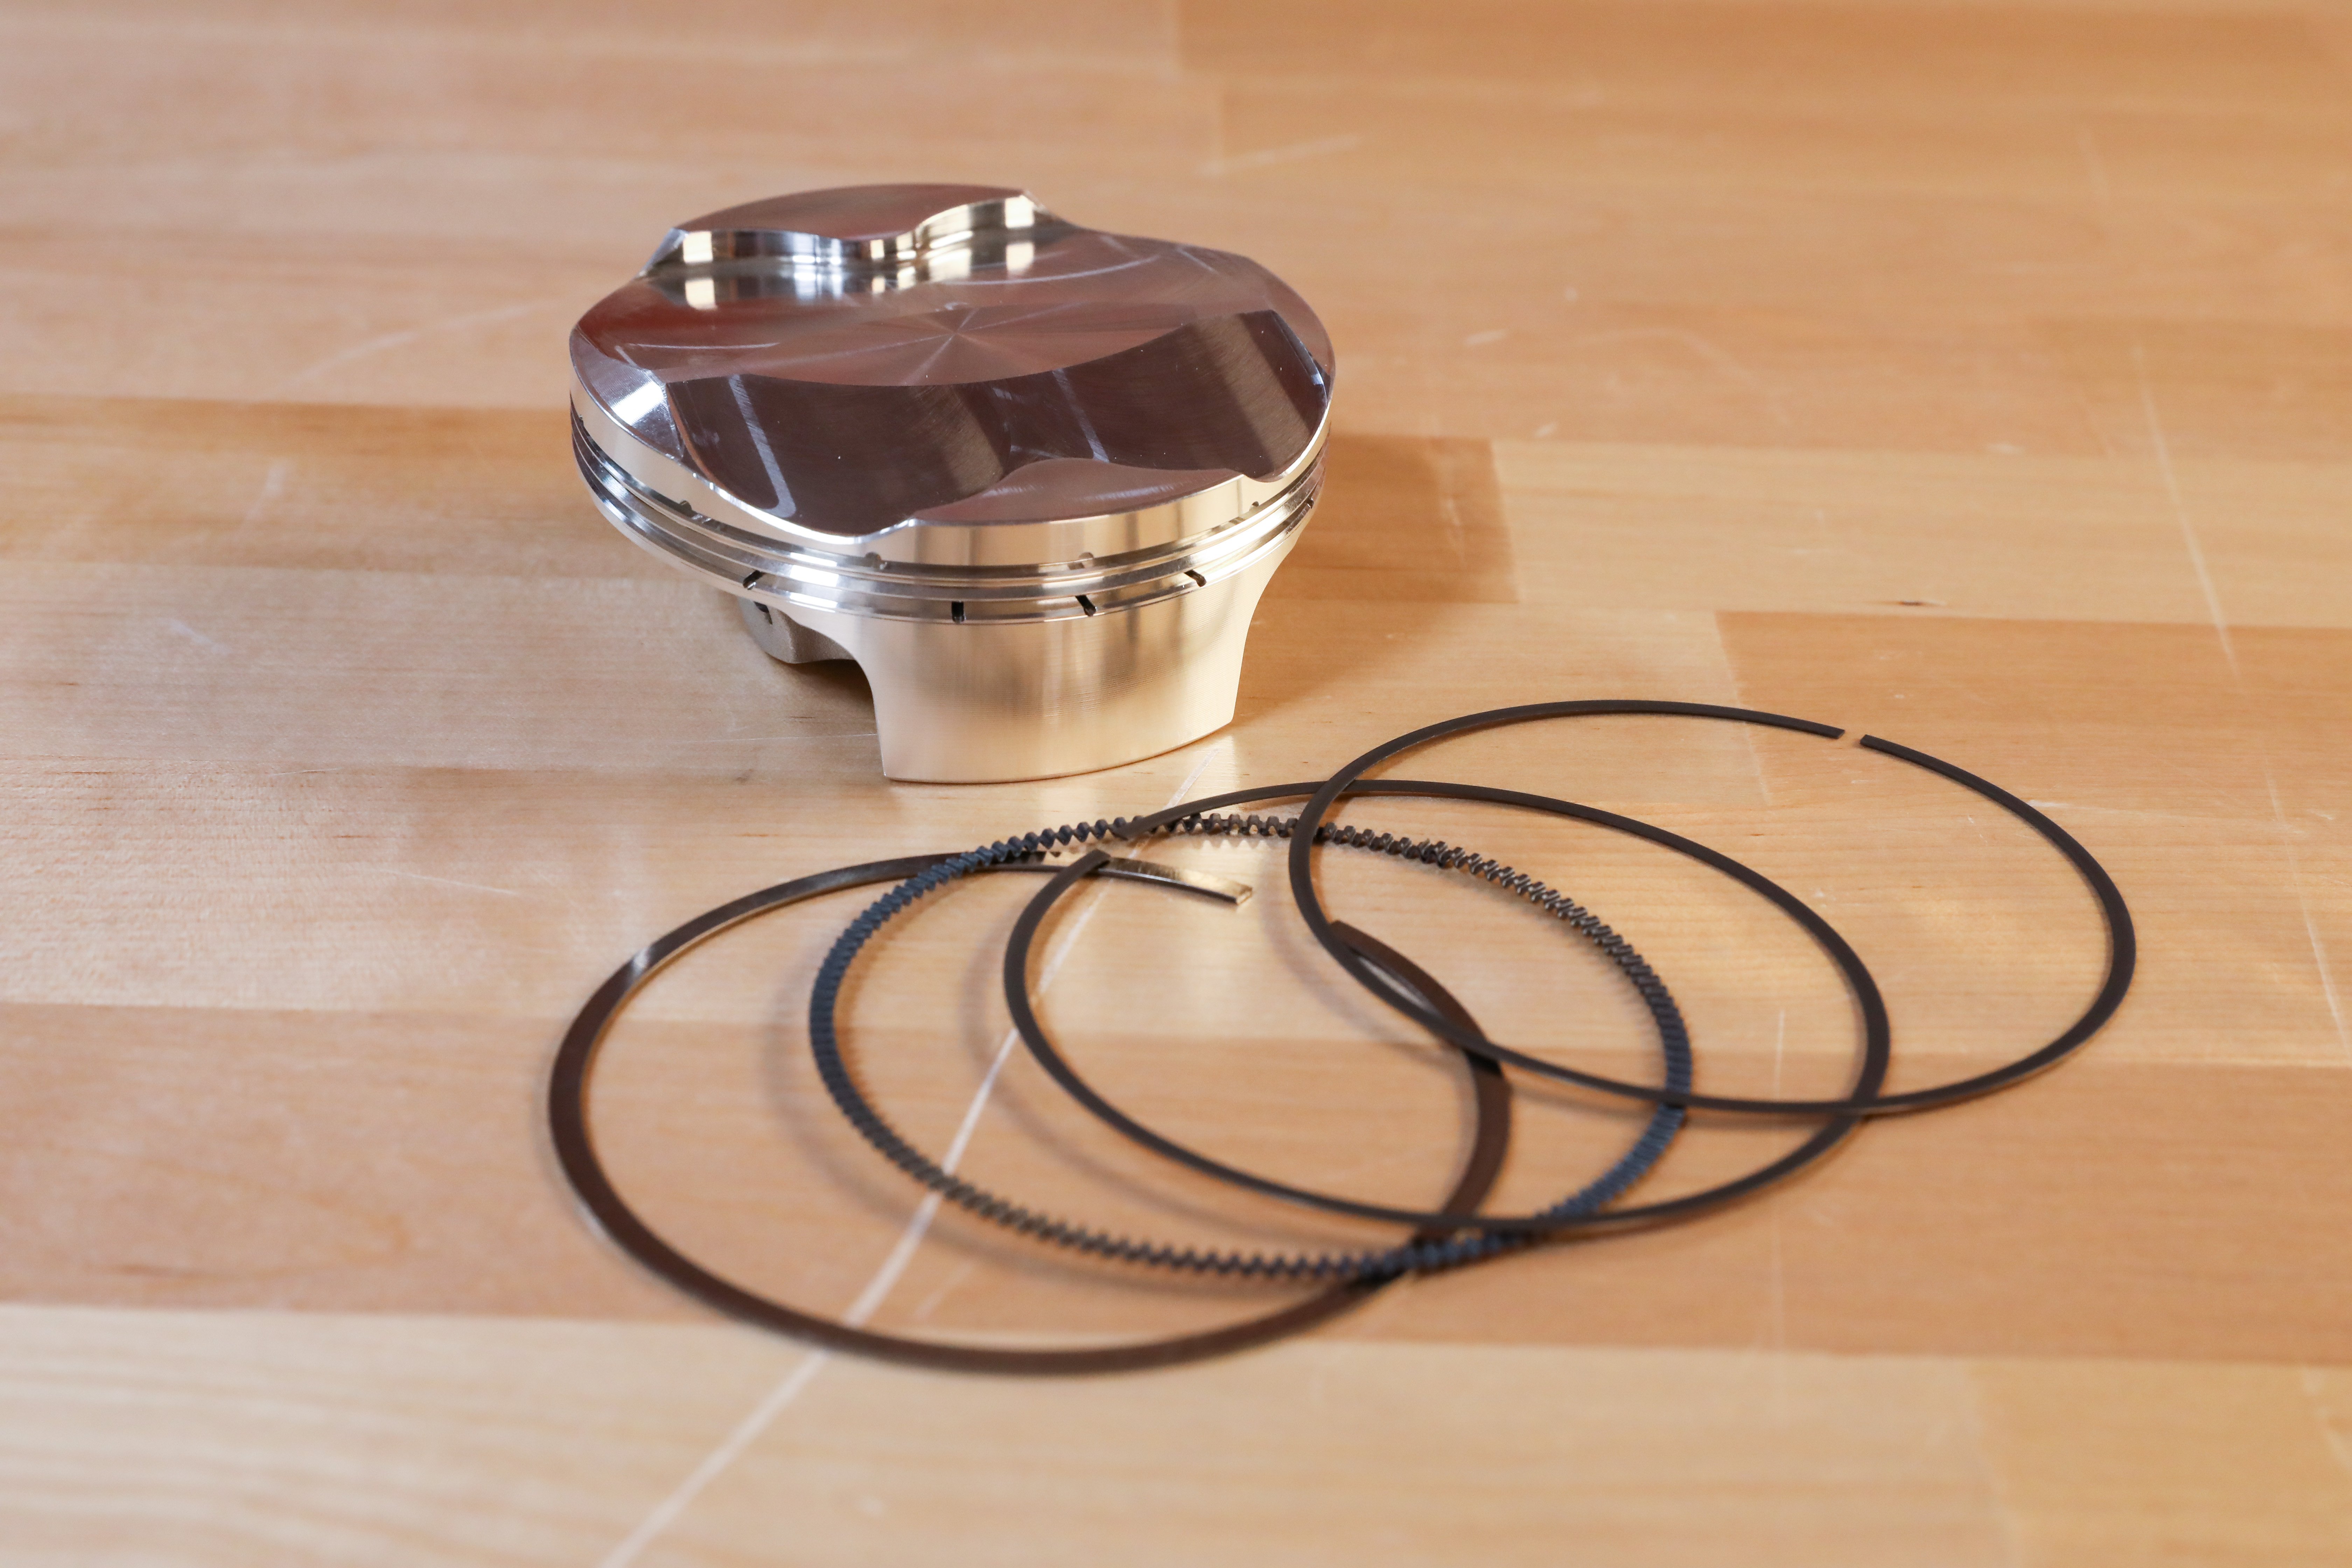
For starters, never attempt ring installation without the appropriate documentation available for reference. At JE Pistons, comprehensive instructions are included with most new piston kits. This ensures the engine builder has the necessary information available to do the job successfully. The machine’s factory service manual should also be on hand throughout the build so that things like torque specs, service limits, and procedures can be referenced.
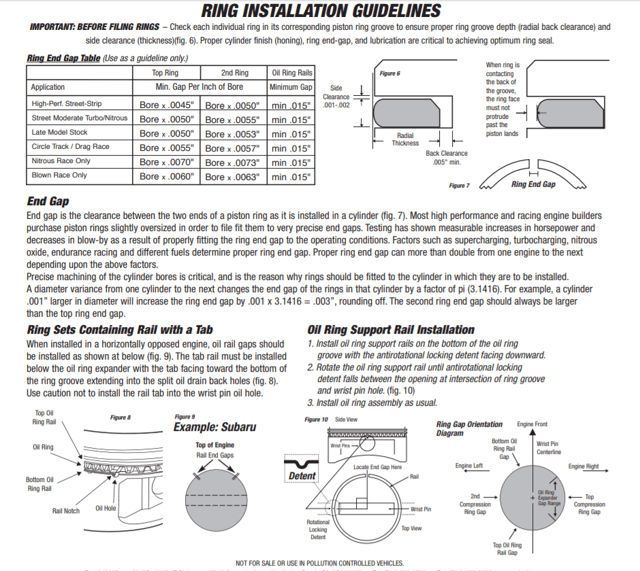
These instructions are for representational purposes only and not valid for all JE pistons.
Process Overview
Before diving into installation details, a quick recap of the process will be helpful to understand what’s to come. Shown below is an outline of the major steps you’ll go through.
- Measure ring end gap
- Clean all rings
- Mark piston where the end gaps should align
- Install oil rings
- Install 2nd compression ring
- Install primary compression ring
- Verify groove clearance
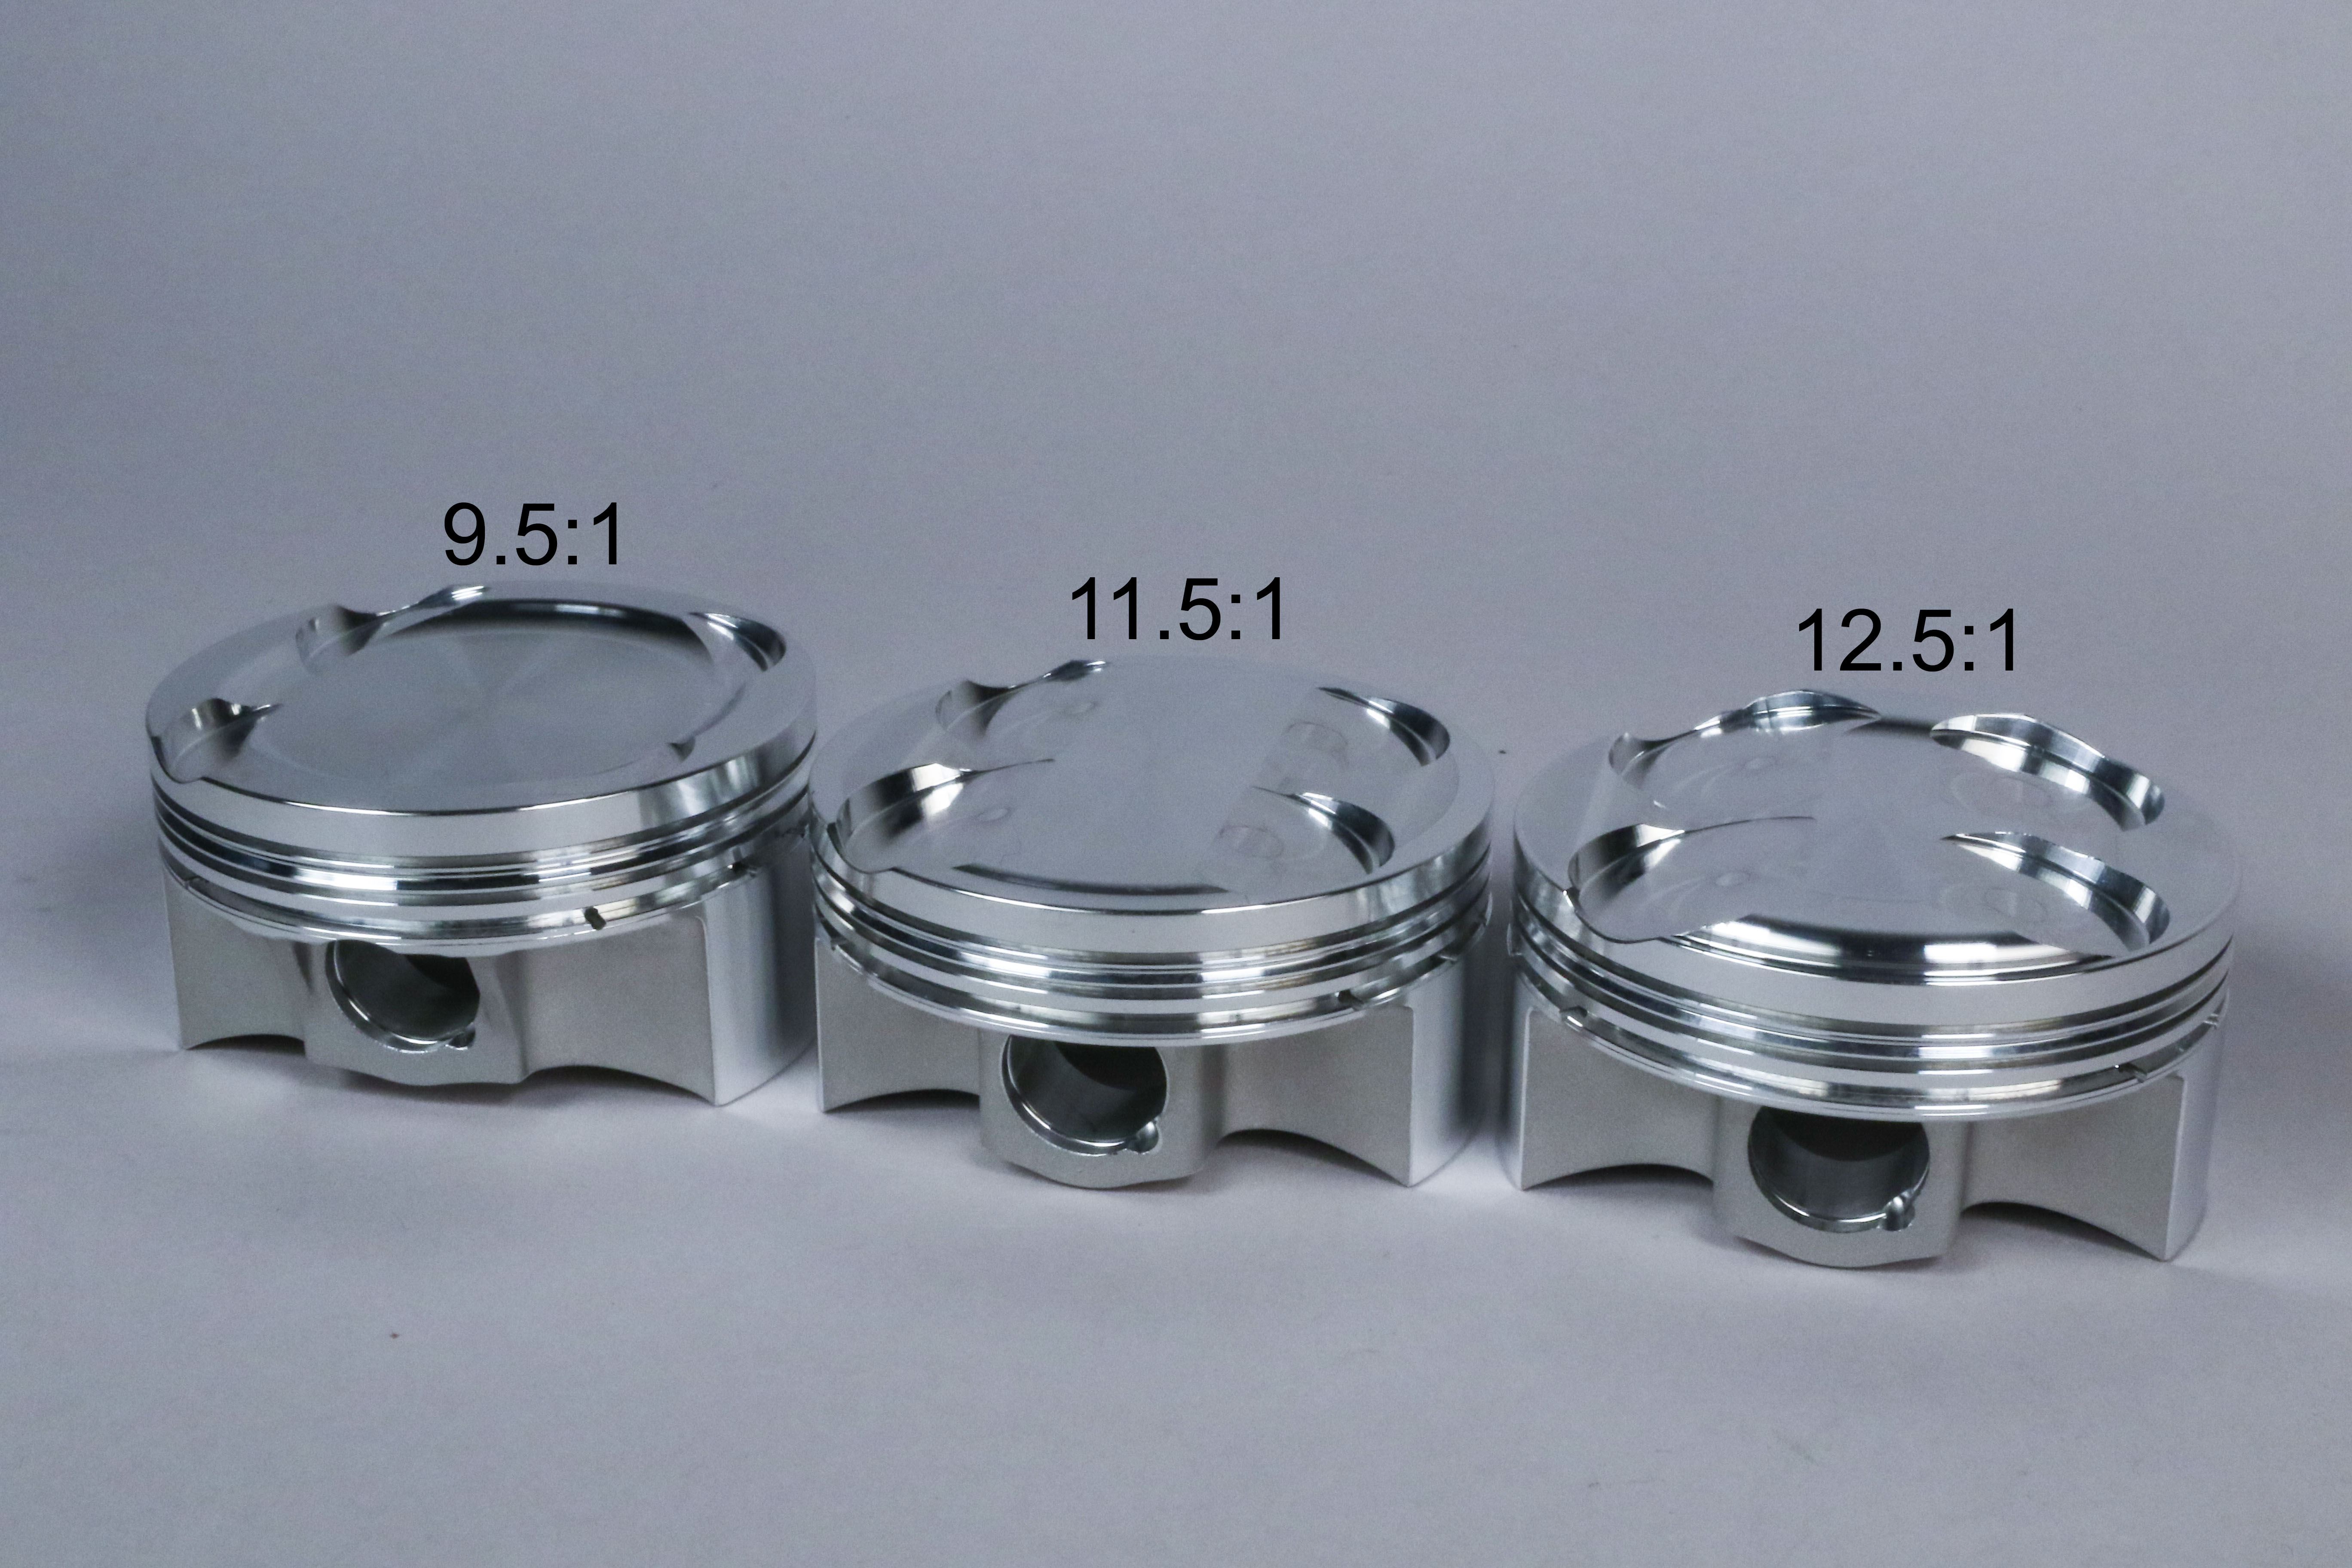
Not sure which piston ring set you need to order? Check out our guide here.
Time for a new piston kit? Find one here!
Step-by-step Process
Measure Ring End Gap
Before installing the rings onto the piston, it is imperative that the ring end gaps are checked and verified against the specs provided with the installation instructions or factory service manual, whichever is applicable. If more than one compression ring is used, confirm any design differences between the two by referencing the installation instructions. Chamfers on the inside edge of the ring or different markings at the ring ends are common identifiers used to denote ring differences. Need clarification on all the markings used on JE rings and pistons? Click here.
To check the ring end gap, simply install the appropriate ring into the cylinder bore and position it near the top of the bore. Use the depth rod end of a caliper to ensure the ring is square to the bore. Next, use feeler gauges to measure the ring’s end gap. Carefully insert various thickness feeler gauges between the ring ends until the gauge just begins to drag between the ring ends. Note the thickness of the gauge and compare it to the end gap specifications provided. This process can be repeated for any additional compression rings used.
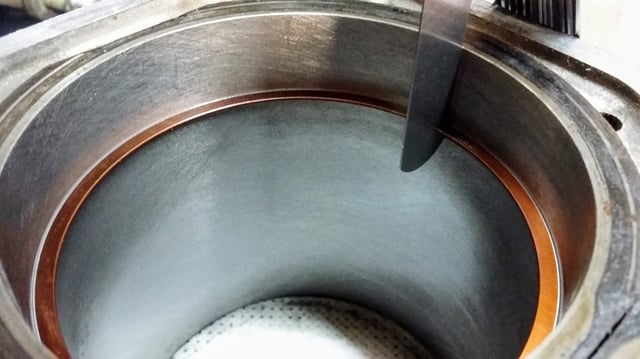
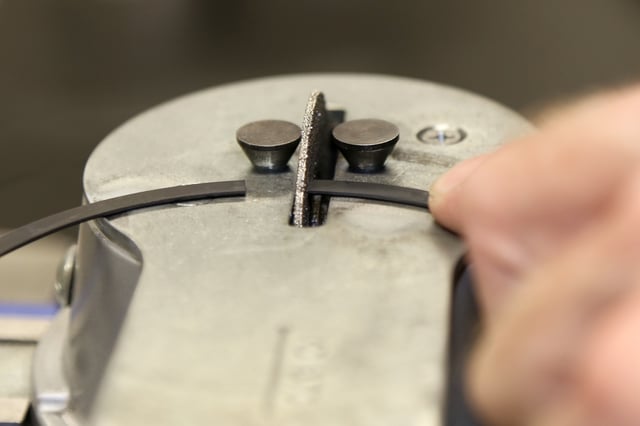
At JE Pistons, the ring end gaps are preset at the factory to fall within spec when installed in healthy cylinders used for normal applications. The end gap of the first compression ring should always be less than that of the second compression ring. If the end gap specs are outside of range, first double check your measurements and verify the cylinder bore is the correct diameter. Assuming no issues are found with the measurements or cylinder bore and the end gap measured is too tight, the rings can be carefully filed. To do so, use a small file and file one end of the ring. Be sure to maintain parallelism to the other ring end as you remove material. Remove small amounts of material and check the end gap periodically so that you don’t remove too much material.
Clean
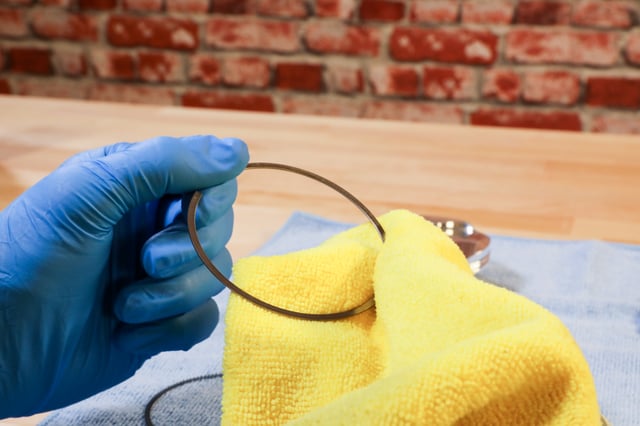
All piston rings should be cleaned before being assembled onto the piston. Before cleaning, confirm the ring ends are free of burrs. Any burrs present can carefully be dressed by gently breaking the edge with a small file. Next, use your preferred parts cleaner to wipe down the rings and piston.
Mark the Piston
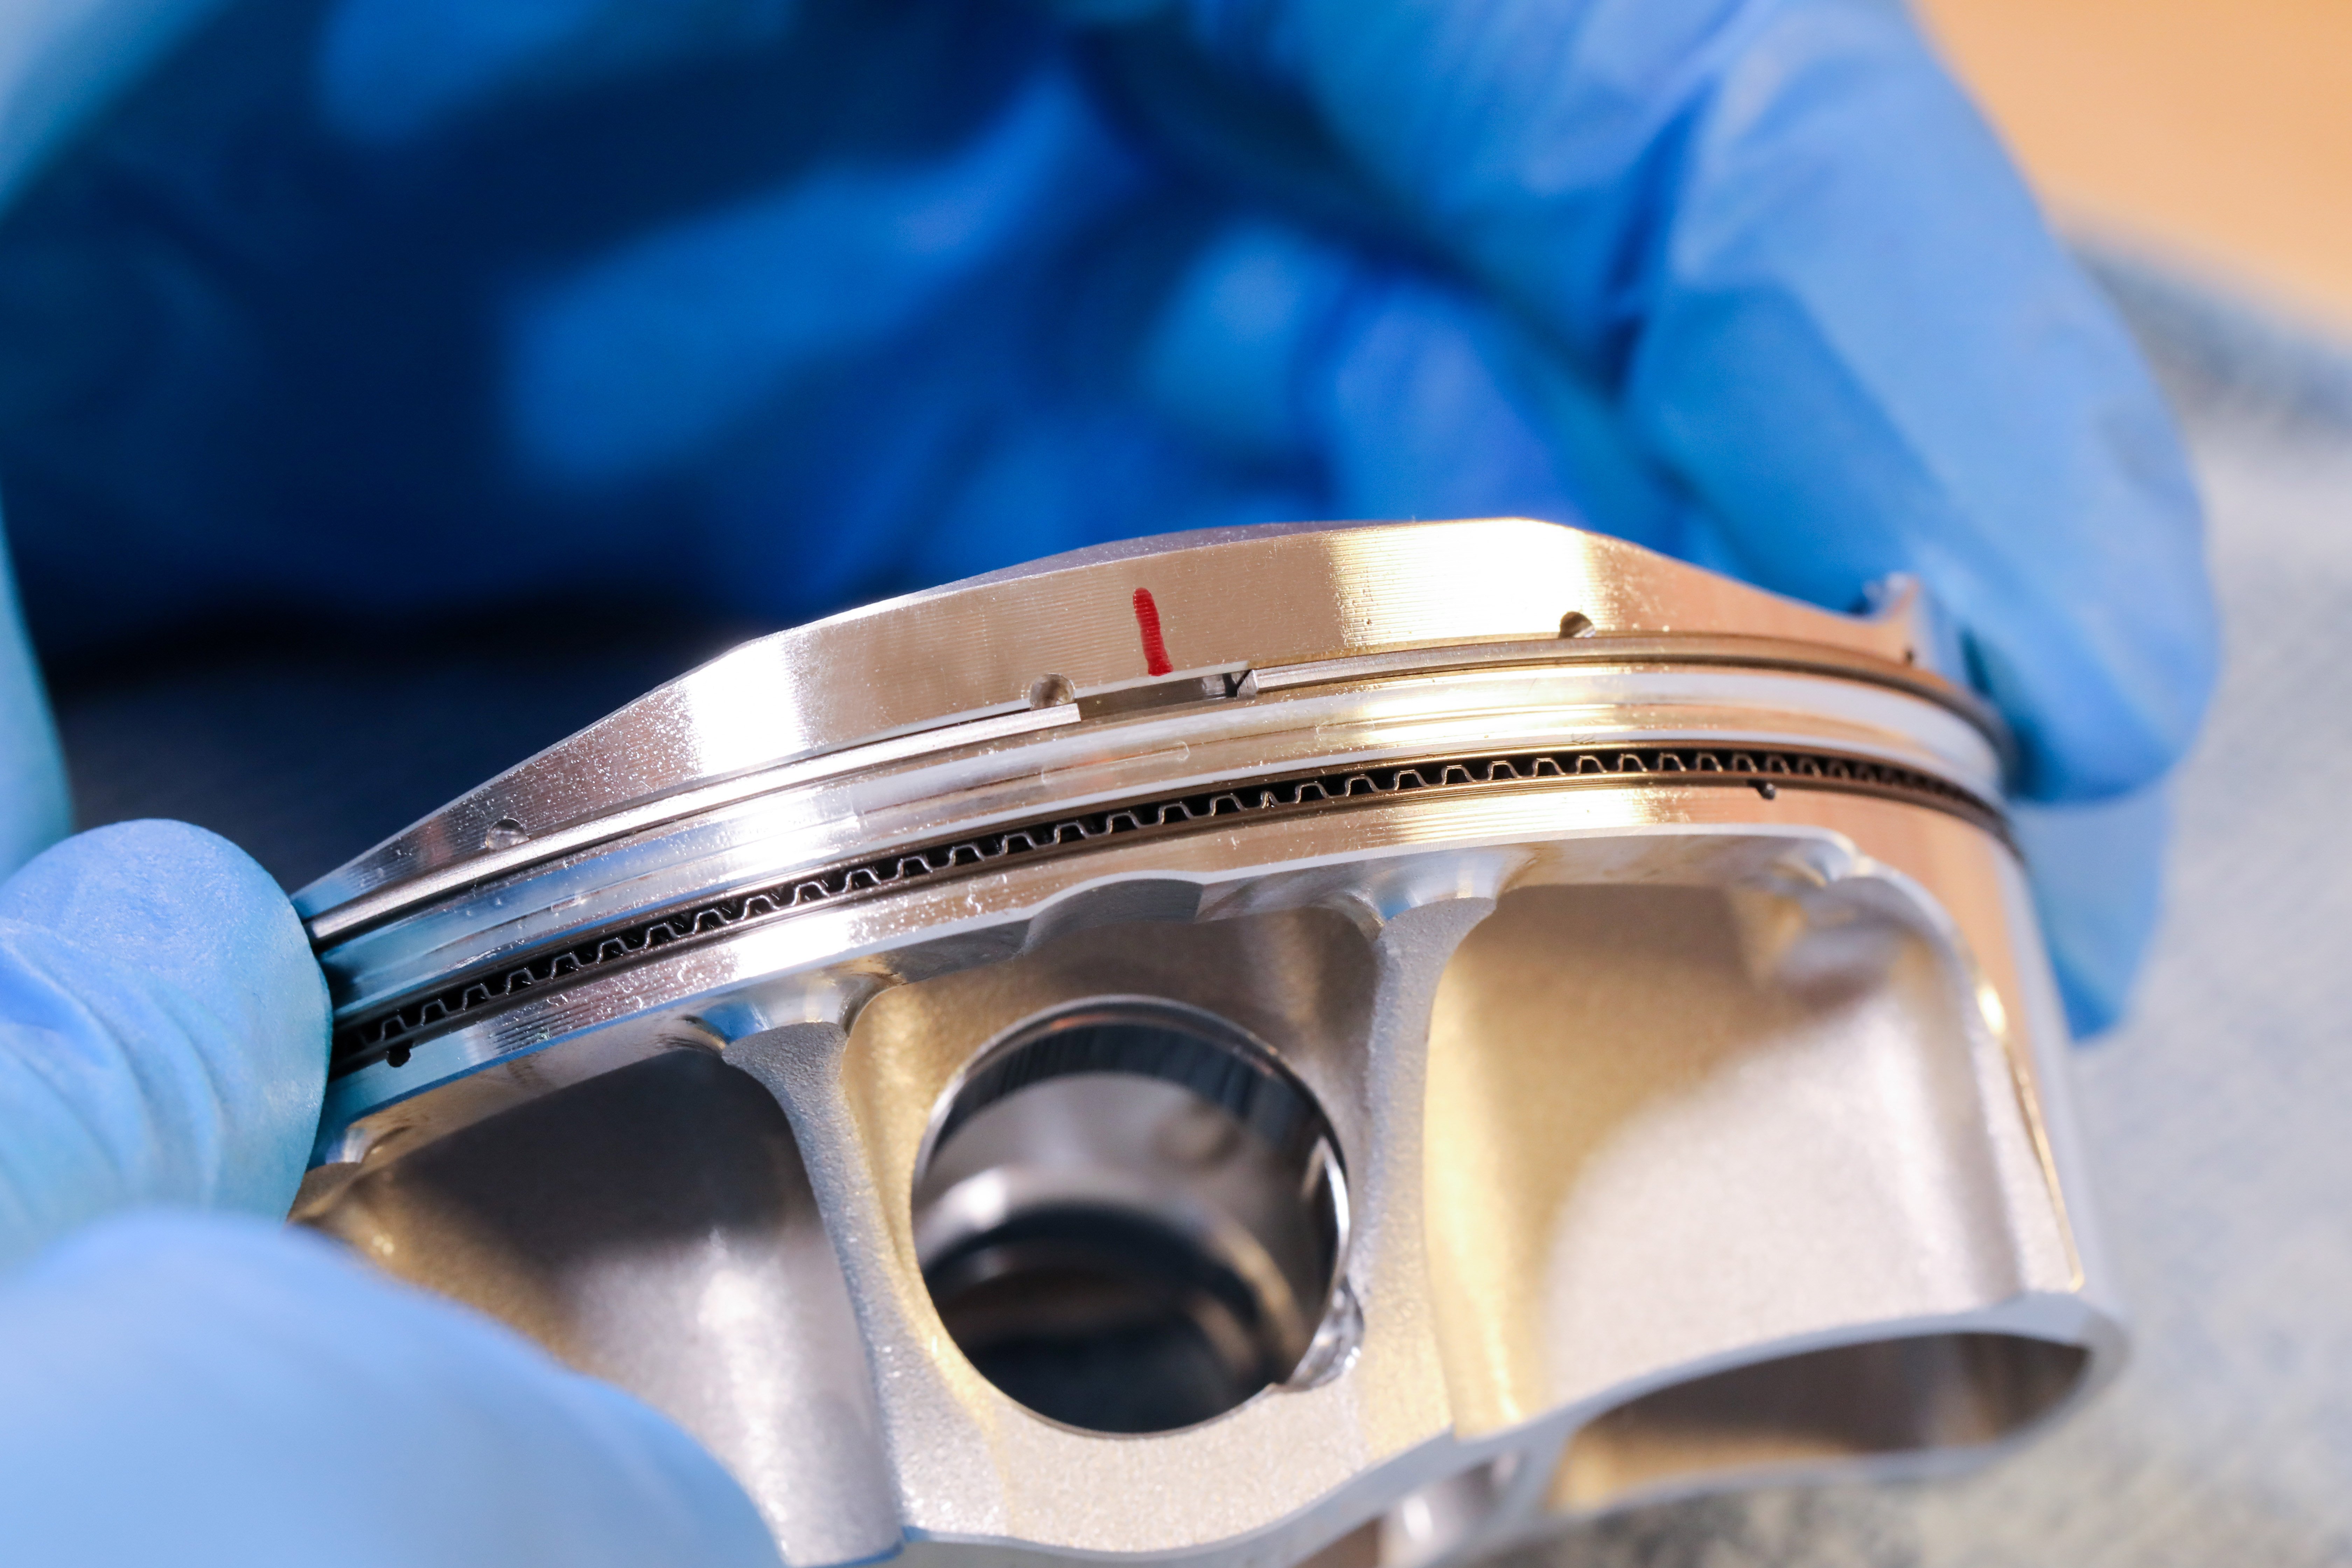
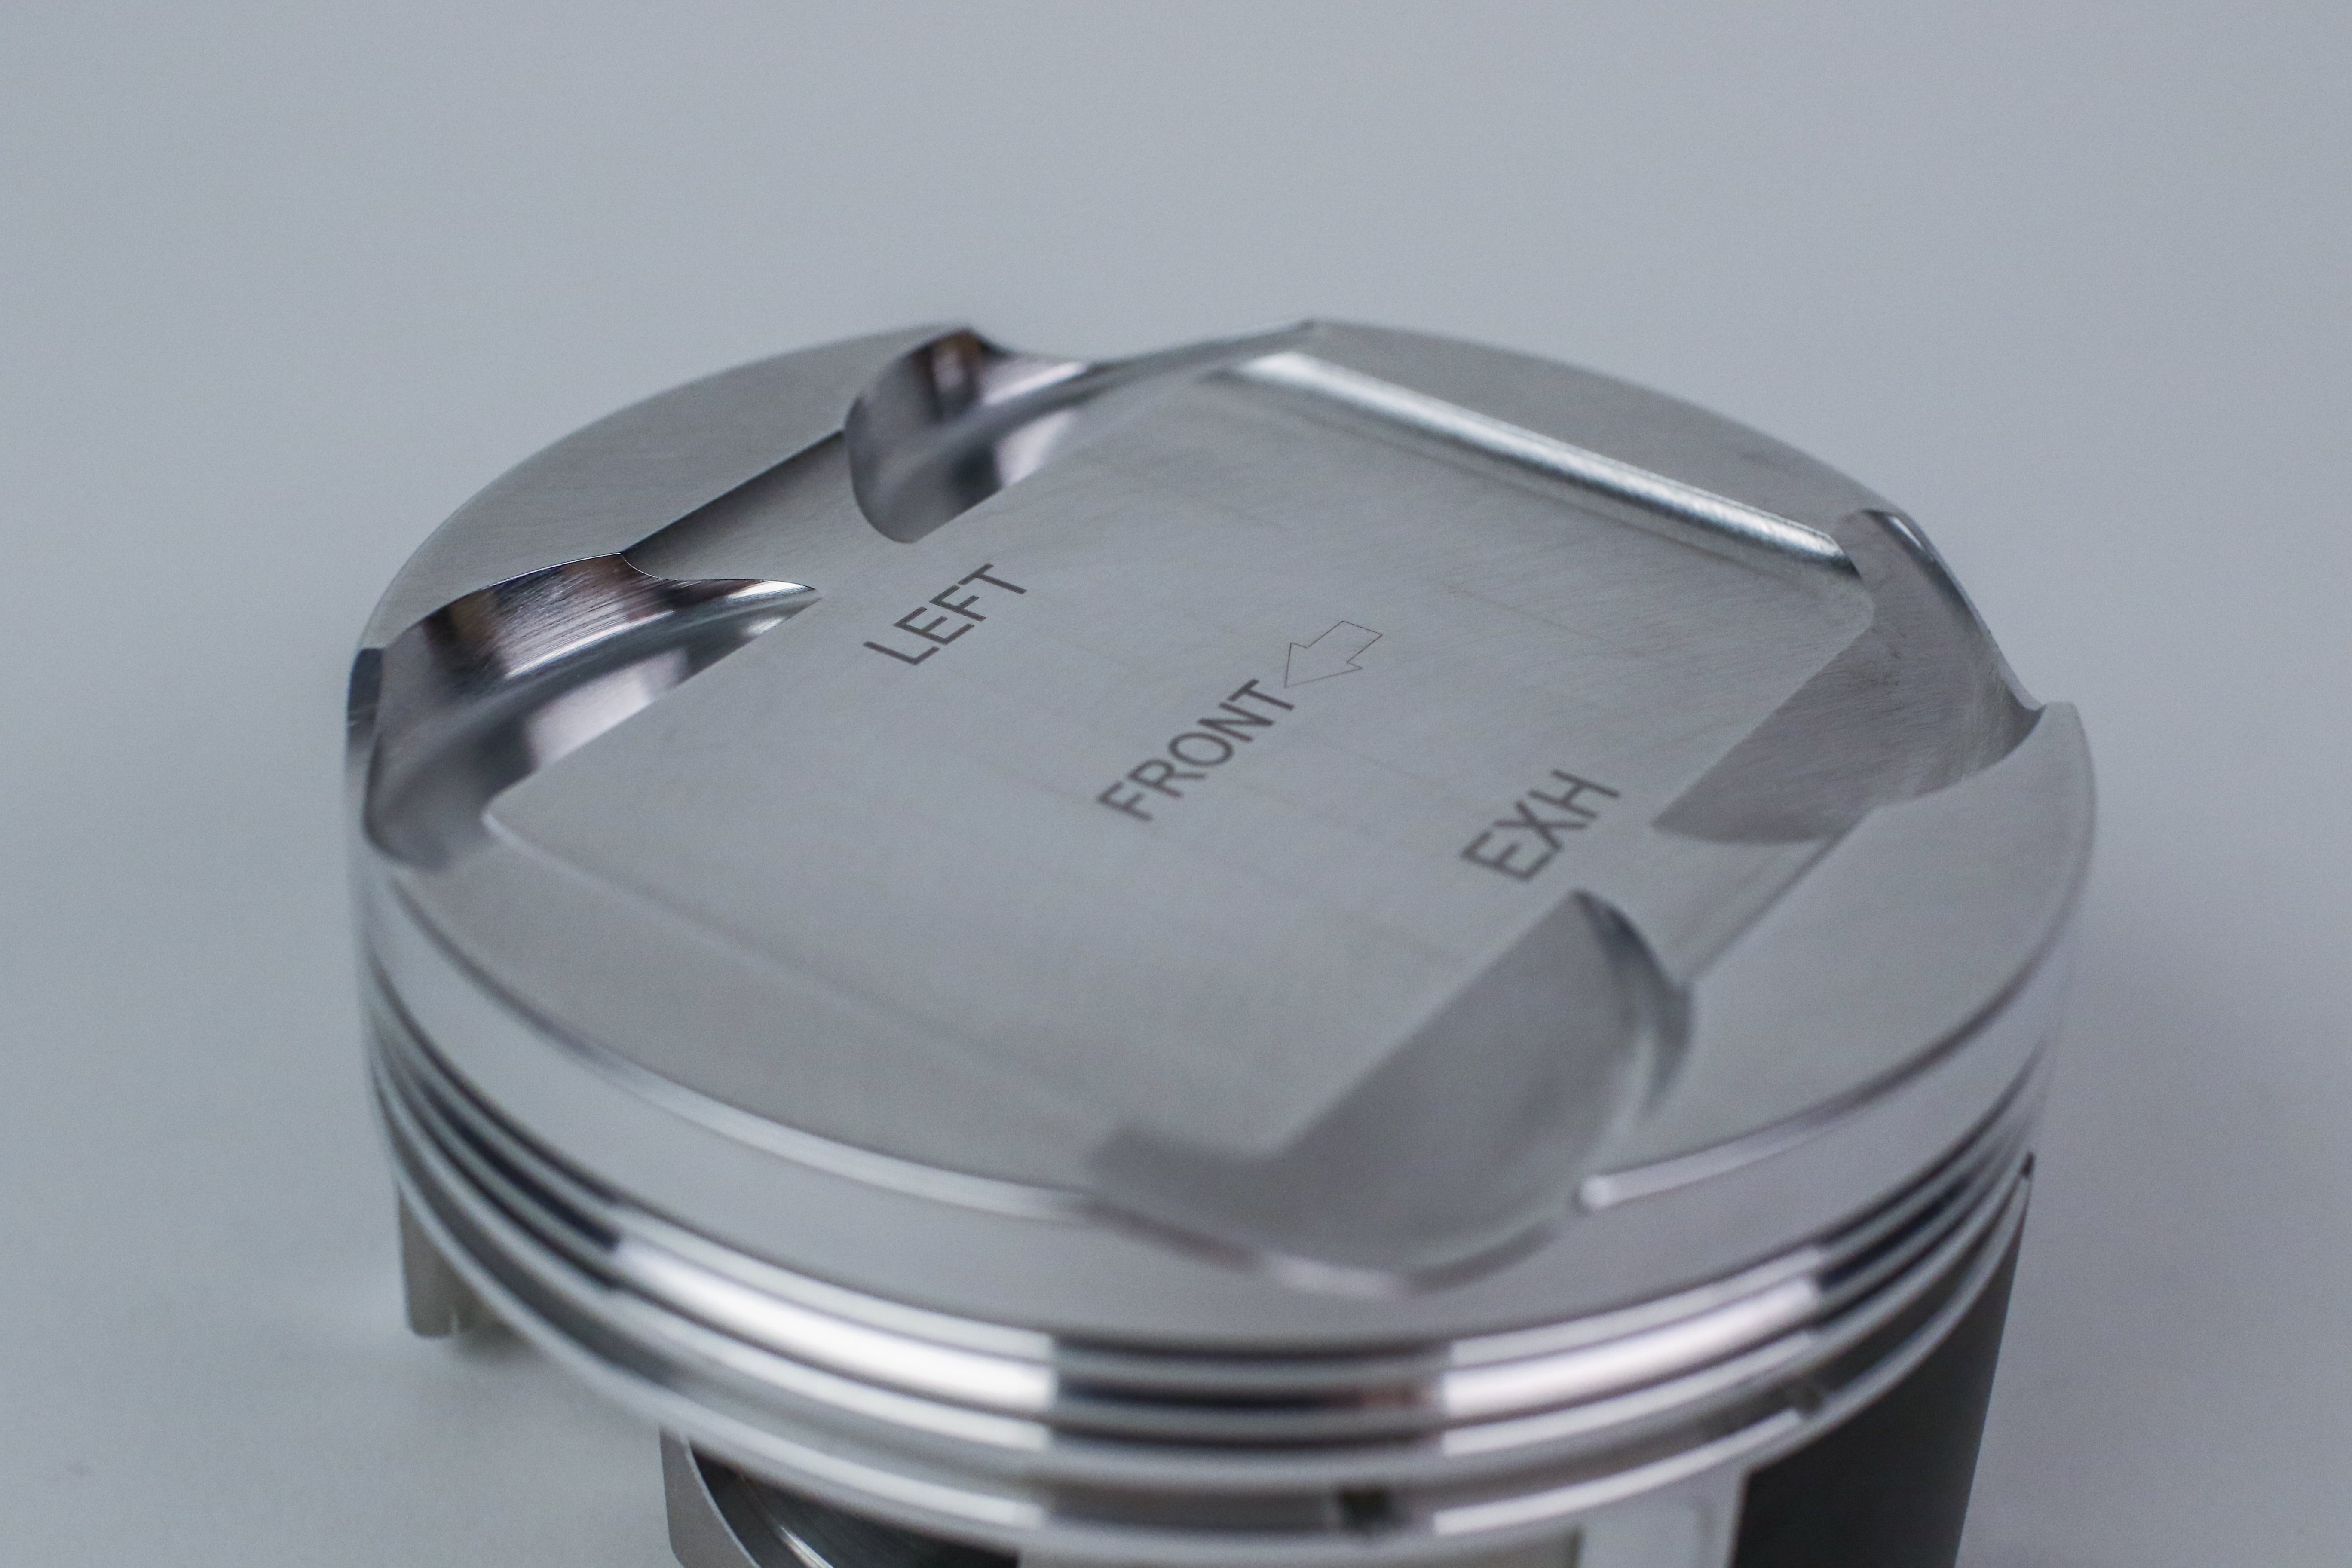
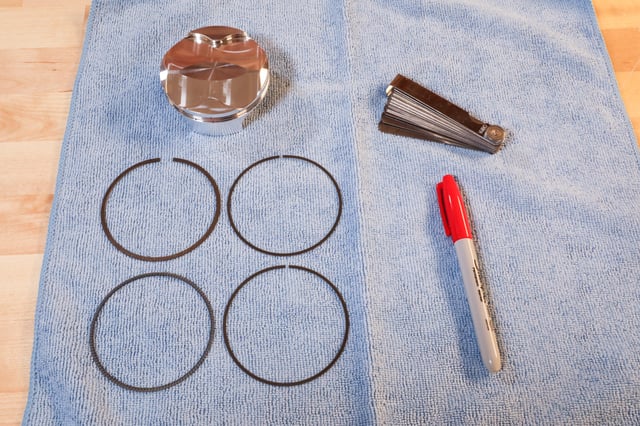
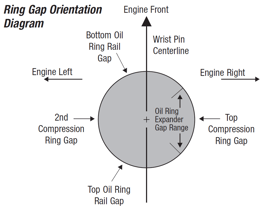
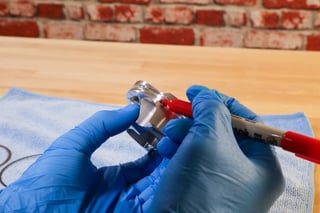
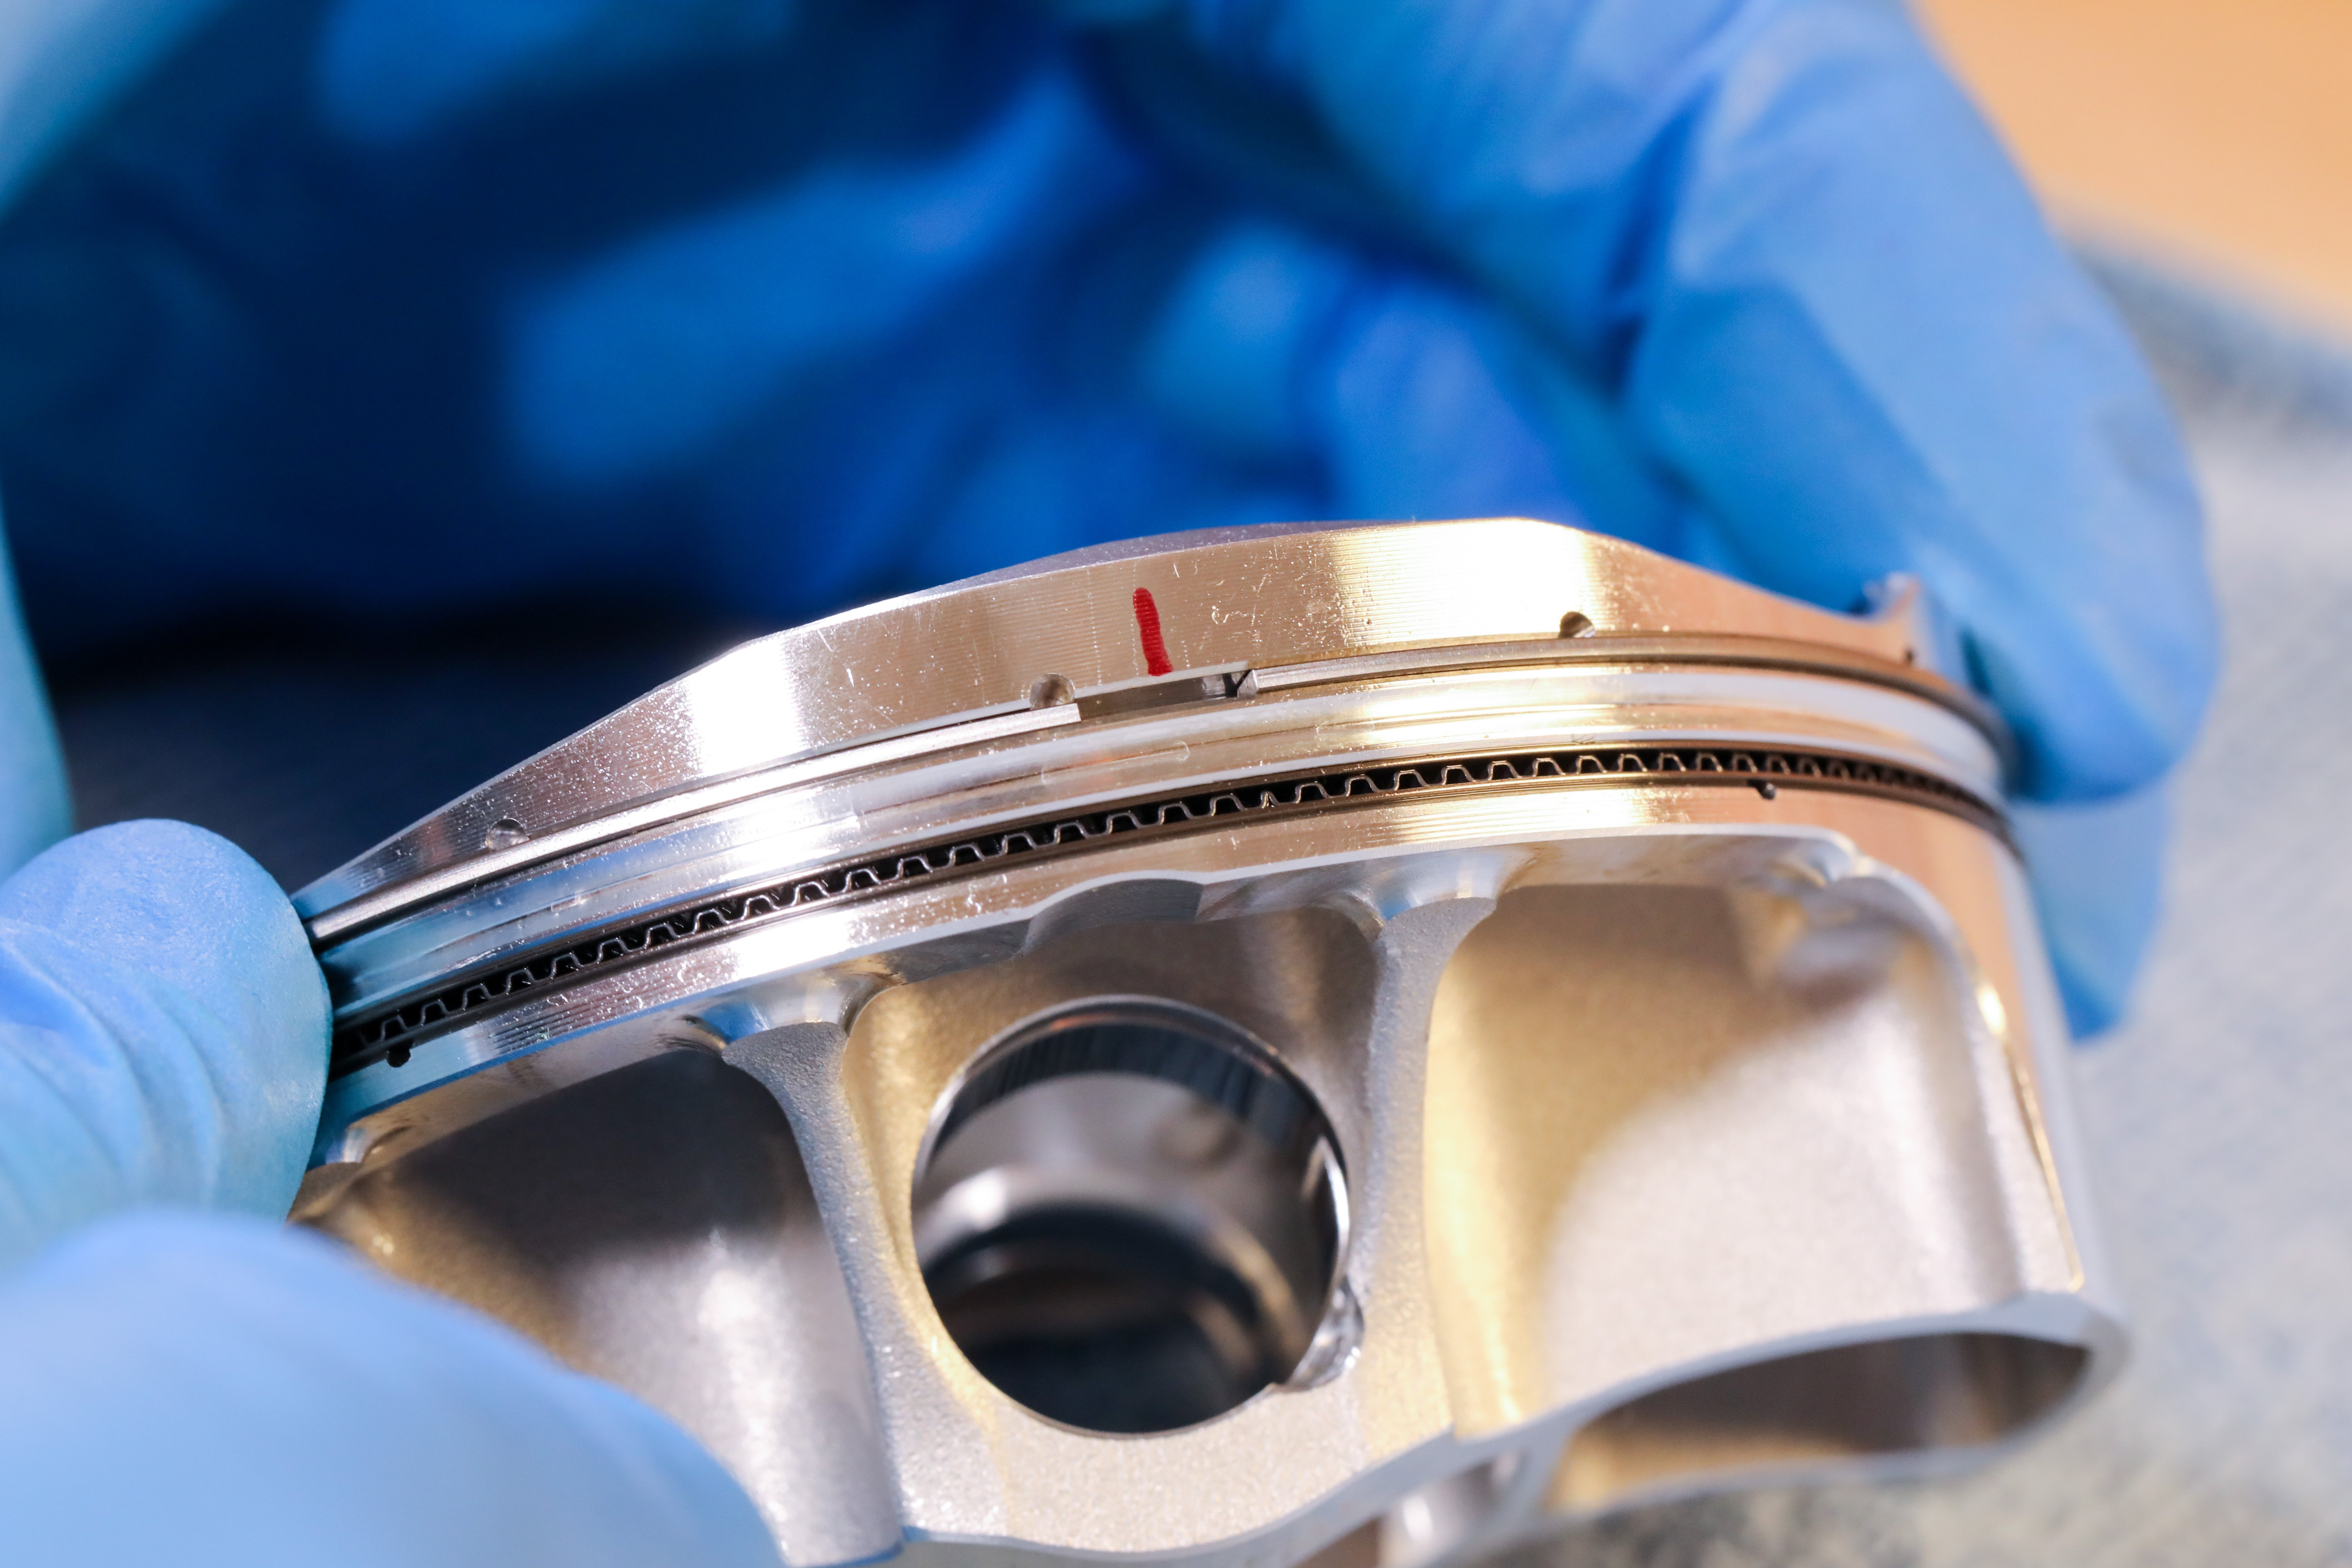
Review the instructions provided with your piston kit and note the specified positions of the ring end gaps. Use a marker to mark the edge of the piston crown with the intended ring end positions for the oil control and compression rings. Doing so will help ensure no orientation mistakes are made upon ring installation.
Oil Control Ring Installation
Modern oil control rings typically utilize a three-piece design and consist of two side rails and an expander ring. Three-piece oil rings can be challenging to install if the ring design and methodology are not understood. The expander ring is the waffle shaped ring and features a stepped edge on the top and bottom of the ring. The side rails are the two small, thin rings which complement the expander. When properly installed, the side rails sit on the top and bottom of the expander ring against its stepped edges. For this reason, the expander ring must be installed first.
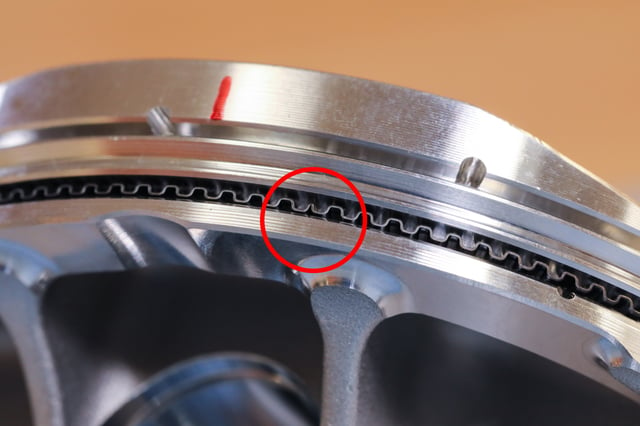
The other feature of the expander ring worth paying attention to is its ends. Due to the expander’s accordion-like shape, it is possible for the ring ends to overlap in the ring groove. For proper installation, it is imperative that the expander’s ends butt and do not overlap.
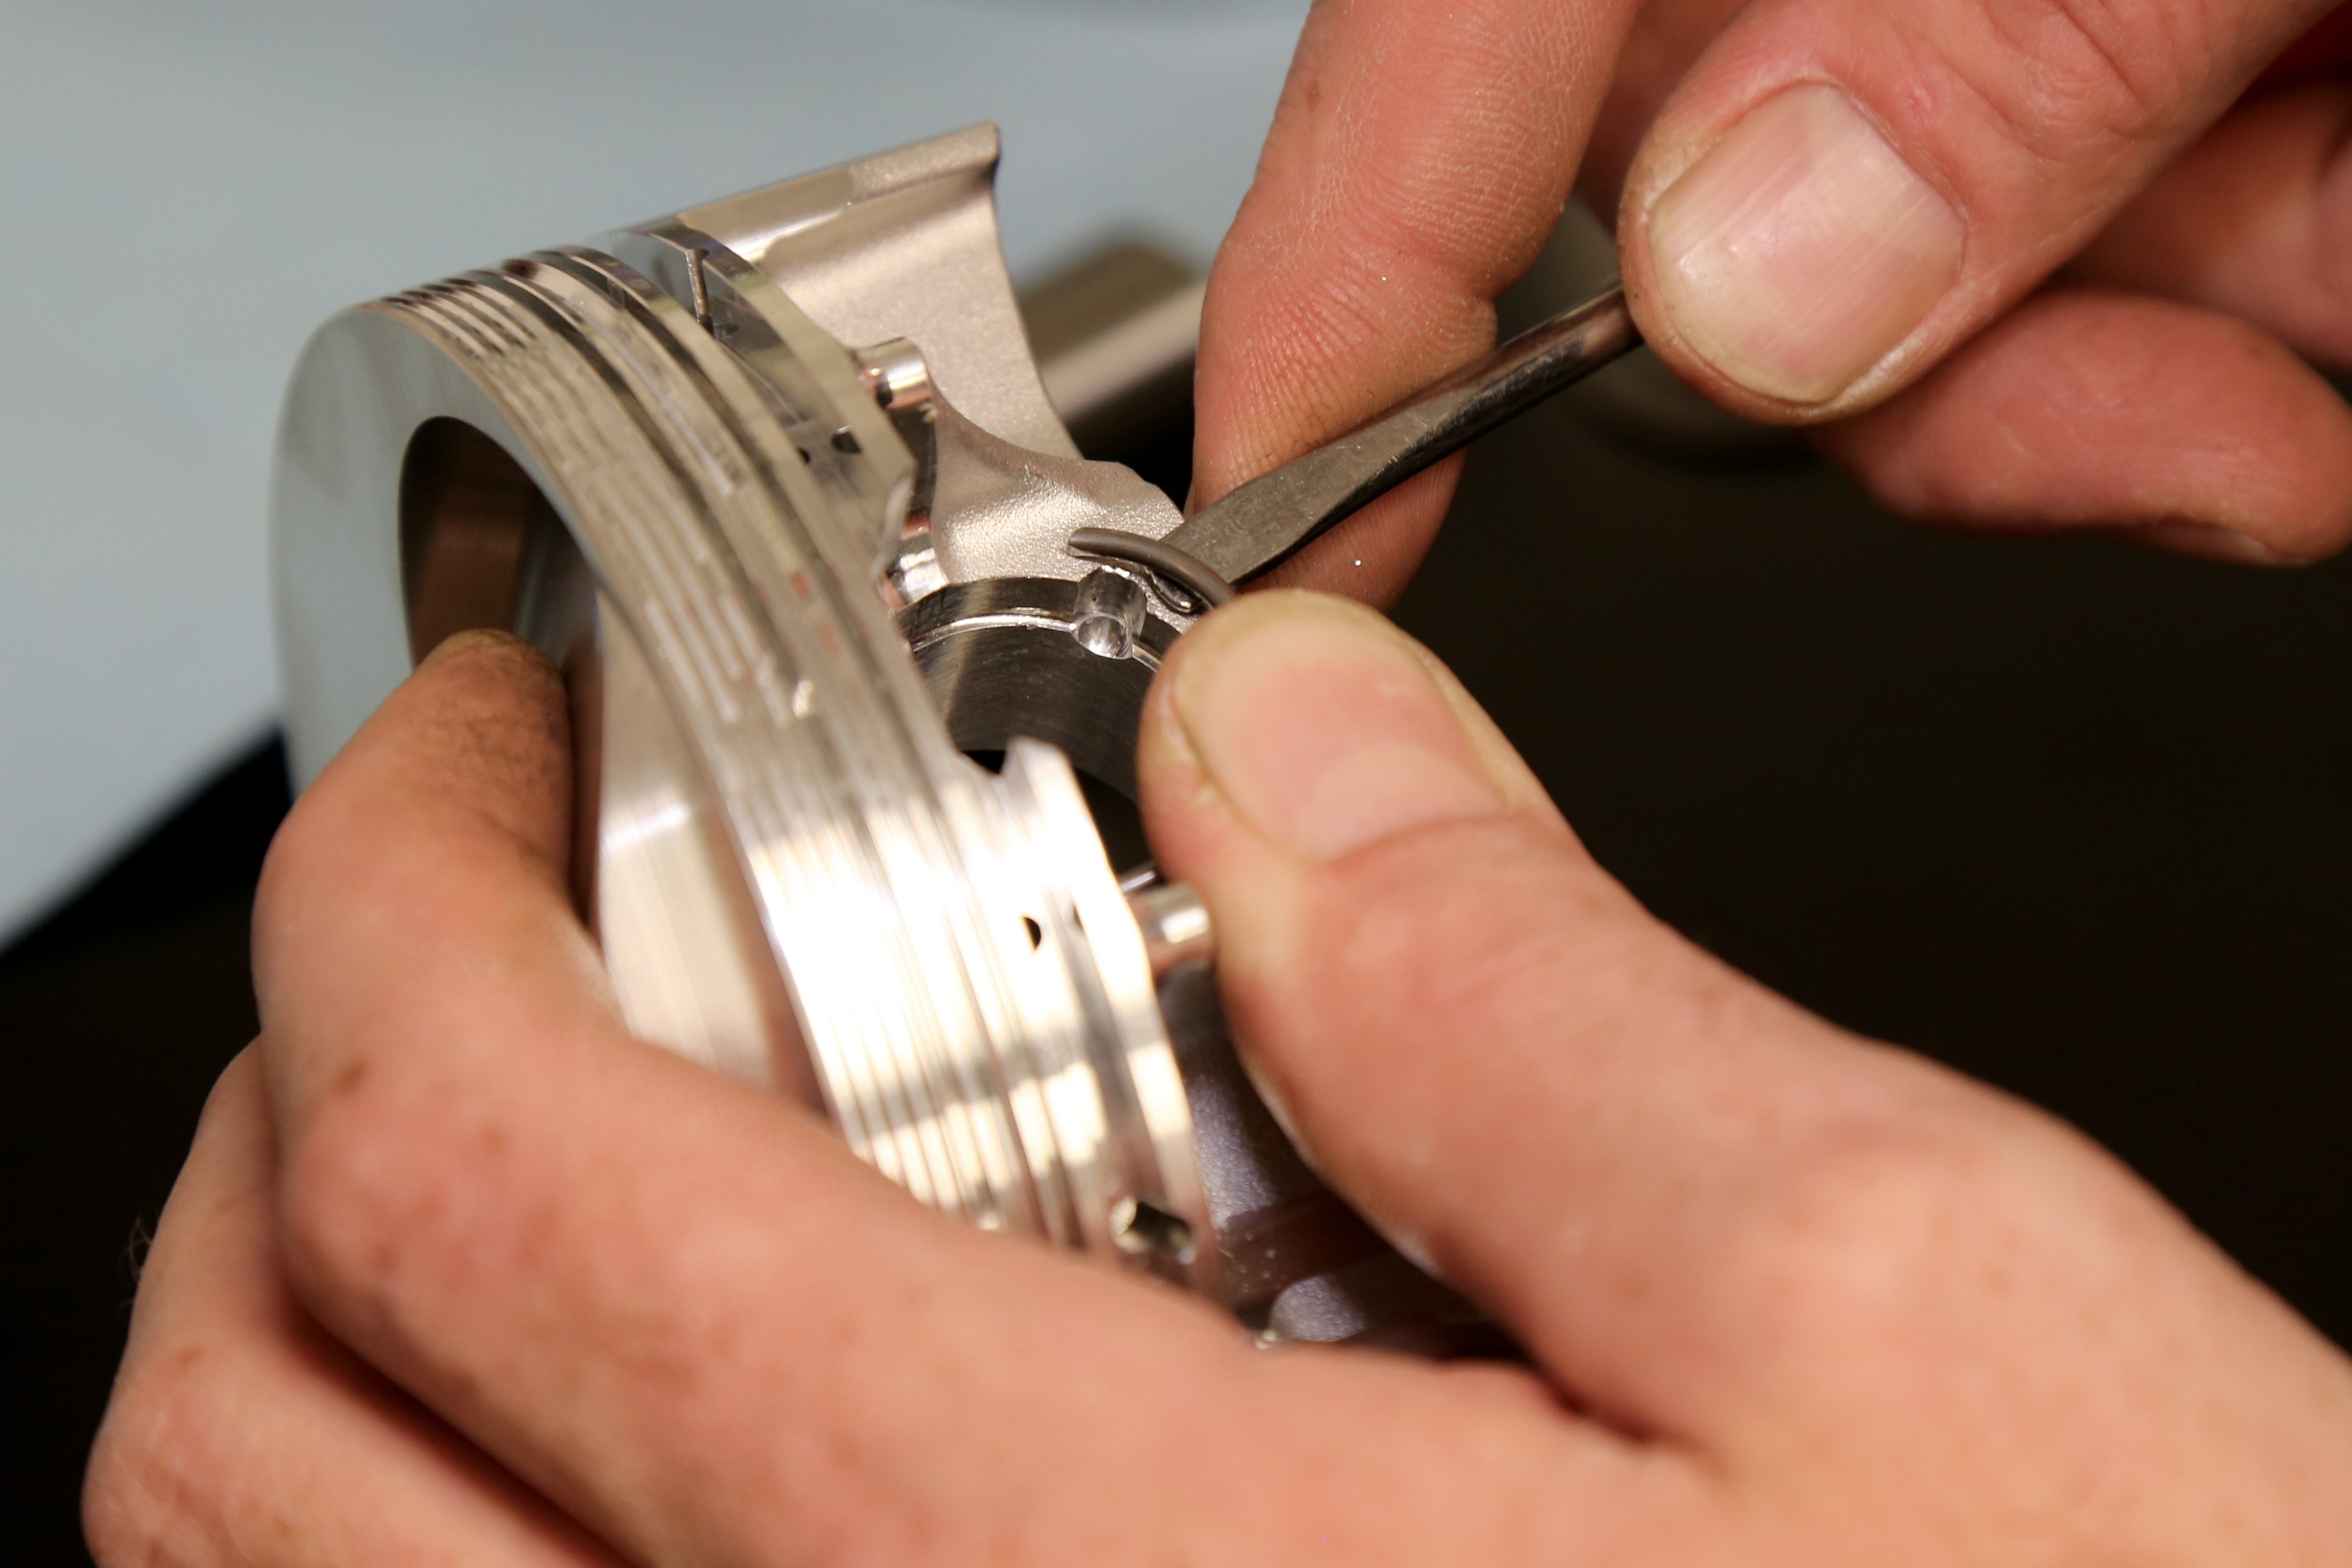
To install the expander ring, lightly coat it with engine oil. The expander ring is non-directional, so it can be installed in any orientation. Carefully work the ring past the compression ring groove into the oil ring groove. Adjust the expander ring as necessary, so the ring ends are correctly positioned. Ensure the ring ends butt together and don’t overlap.
The side rails are also non-directional. Lightly lube the side rails then install them on the piston. Make sure the side rails sit correctly against the stepped edge of the expander ring and that their end gaps are positioned properly. Once the side rails have been installed, double-check the end gap positions of all three rings that comprise the oil control ring assembly. Ensure the expander ring’s ends are not overlapped and ensure the assembly moves freely within the oil ring groove.
Compression Ring Installation
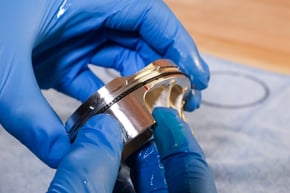
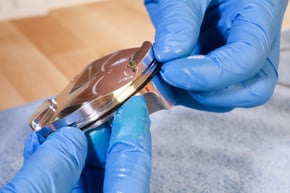
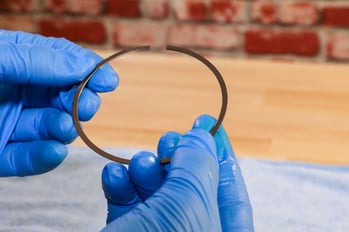
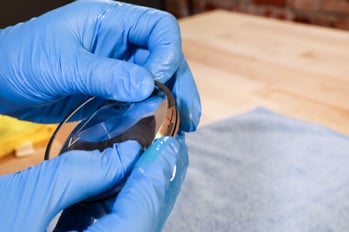
If the piston utilizes two compression rings, the second compression ring should be installed first. Refer to the installation instructions to determine the proper orientation of the ring before installation. Typically, dots or letters will be marked near the ring end, which denotes the top of the ring. Internal edge features such as chamfers may also be used to identify the ring and its correct orientation. Lightly oil the ring and then carefully work it over the piston into its appropriate groove. Adjust the ring’s end gap position so that it aligns with the mark you made for it on the piston crown. Repeat this process for any remaining compression rings.
Confirm Groove Clearance
Once the compression rings have been installed, the ring-to-groove clearance should be checked. To do so, insert a feeler gauge between the ring and groove. The clearance can be identified by finding the feeler gauge that drags ever so slightly between the ring and groove. Note the groove clearance and compare it to the specification provided in the installation instructions or factory service manual.
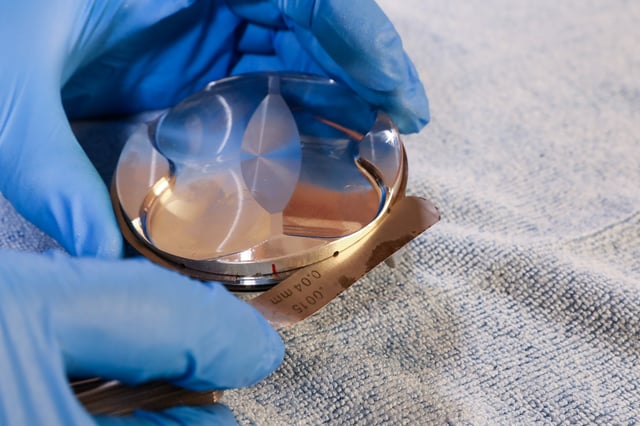
At this point, ring installation onto the piston is complete, and subsequent steps can be taken to complete the engine build. While installing the piston rings onto the piston is a critical step in the build process, it can be performed by anyone when the proper steps are taken. The process simply requires the correct measurements are taken, cleanliness is ensured, and installation techniques are used.
